20 Christmas Eve Nails
Introduction
Christmas Eve is the perfect moment to celebrate with a festive manicure that matches the mood of twinkling lights, cozy sweaters, and family gatherings. The right nail art can elevate your entire look—from a simple red dress to a glittery party outfit—without taking focus off your celebrations. This guide offers 20 genuinely helpful, SEO-friendly Christmas Eve nail ideas that range from timeless classics to playful scenes. Each design includes a materials checklist, practical steps, and pro tips to help you achieve salon-quality results at home, whether you’re a beginner or a seasoned nail artist.
Classic Red and Green Plaid
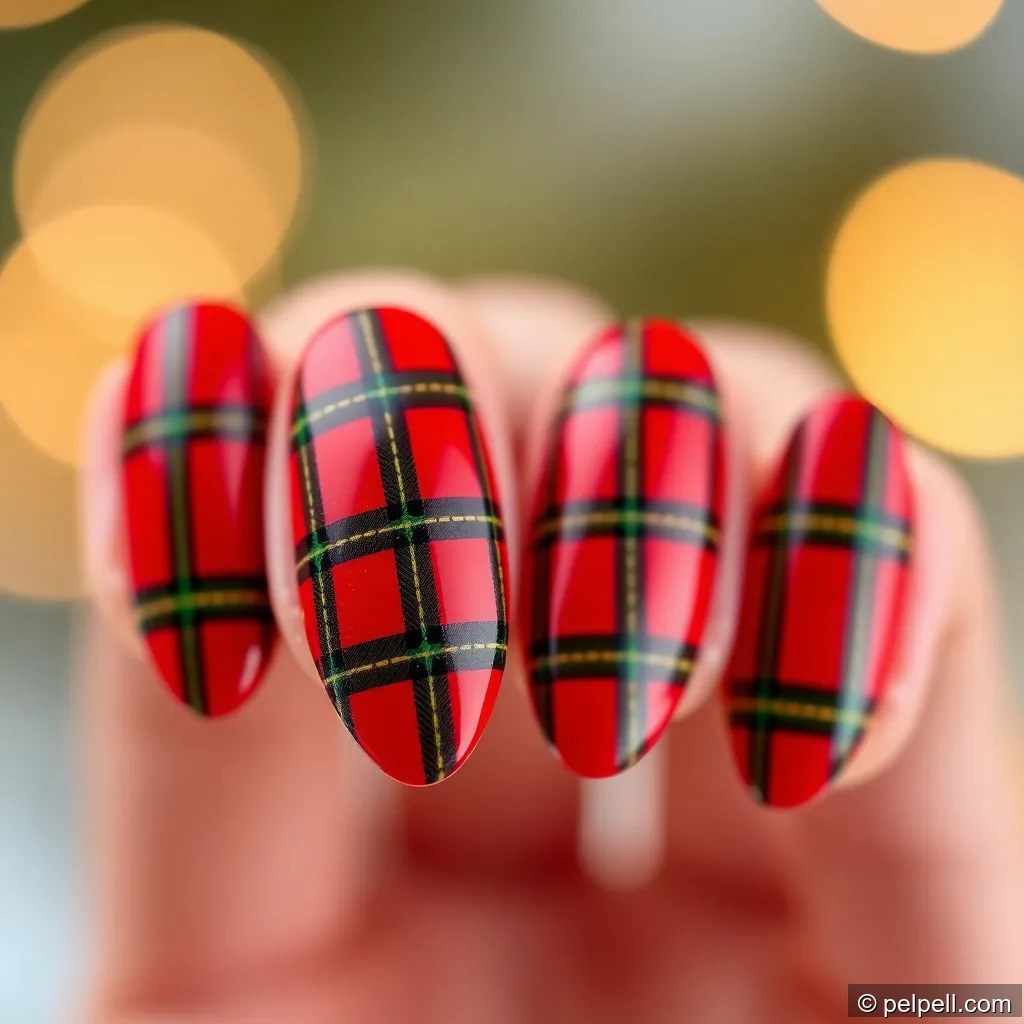
Description: A timeless holiday motif that pairs rich red with forest green plaid lines for a cozy, traditional Christmas vibe.
Materials:
– Red and forest green nail polishes
– Black and white nail polishes (thin lines)
– Nail art striping brush
– Fine detail brush or dotting tool
– Base coat and top coat
Steps:
– Prep nails with base coat; apply two coats of red as the base.
– Once dry, use the green stripe brush to lay two parallel lines across the nail, then cross with thin black lines to form a plaid pattern.
– Add white lines for a crisp look if desired.
– Seal with top coat.
Tips:
– Tape or decal guides help create crisp plaid lines.
– Work in thin layers to prevent smudging; allow each layer to dry fully.
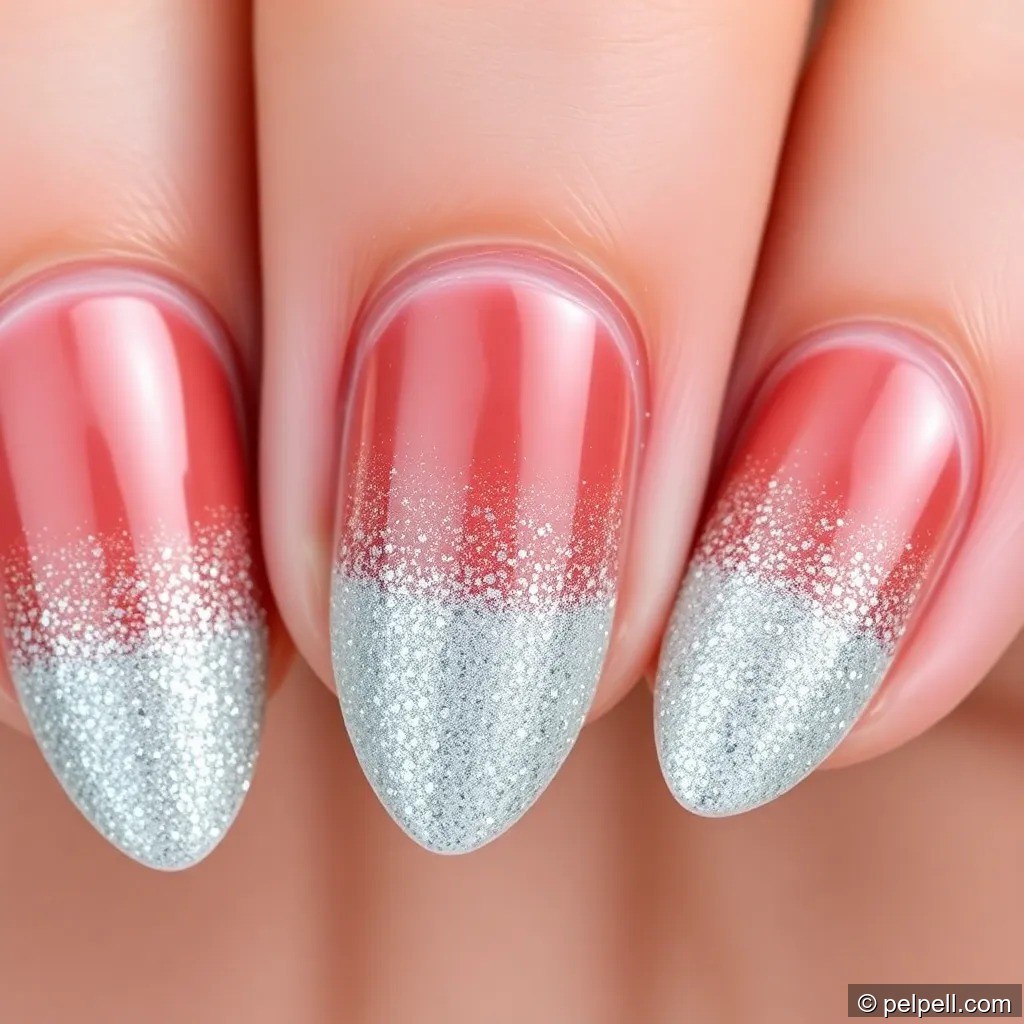
Snowy Glitter French Tips

Description: A nude or sheer base with white glitter French tips that resemble a snowfall edge.
Materials:
– Nude/sheer base polish
– White glitter polish or fine white glitter
– Top coat
– Striping tape (optional)
Steps:
– Apply base color; let dry.
– Use striping tape to mark the tip area; apply white glitter at the tips or sweep glitter to create a gradient.
– Remove tape carefully; clean up edges.
– Add top coat for a glassy finish.
Tips:
– A sheer nude base makes the glitter pop without overpowering the nails.
– Build glitter in layers for even coverage.
Santa Hat Accent Nail
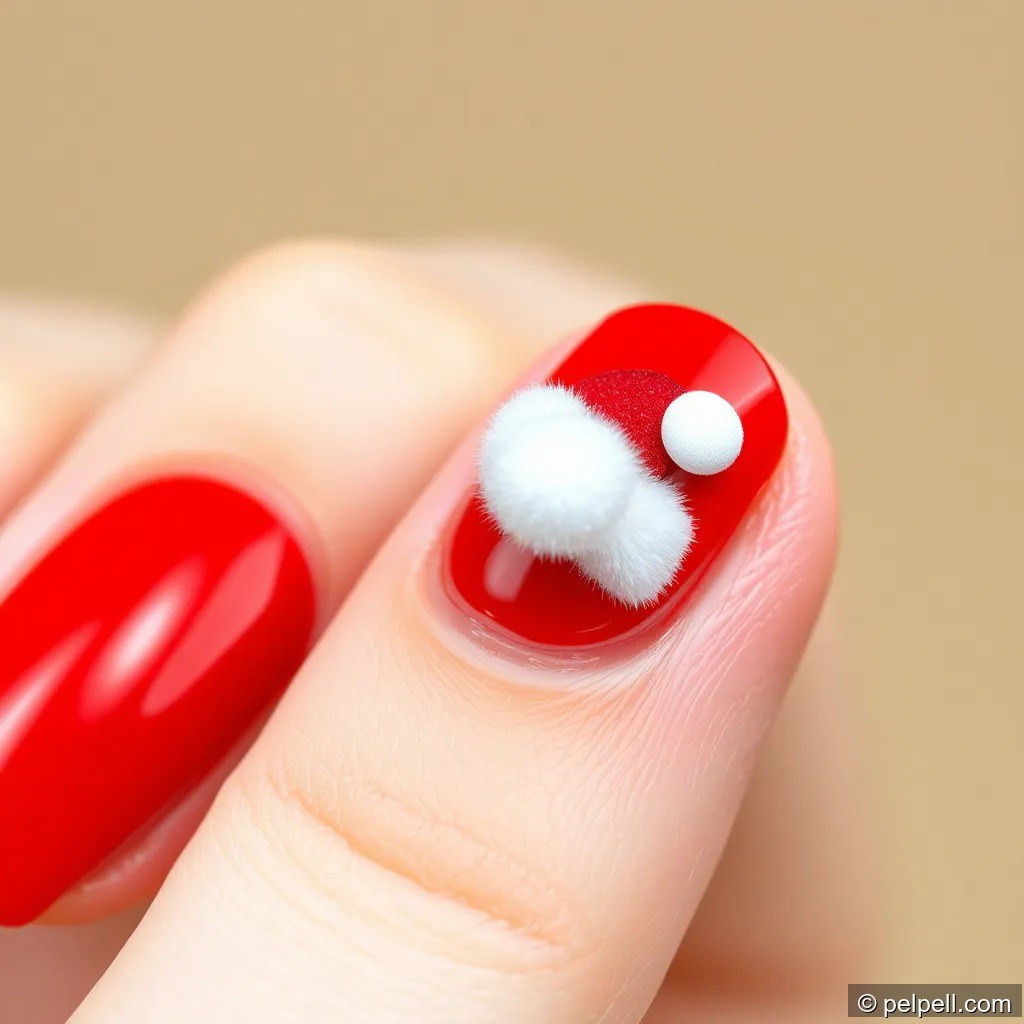
Description: One accent nail features a tiny Santa hat, perfect for a playful, on-theme look.
Materials:
– Red, white, and black polishes
– Dotting tool or thin brush
– Top coat
Steps:
– Paint all nails with a red base; leave the accent nail for Santa hat.
– On the accent nail, paint a white fluffy brim and a white pom-pom; add a small black band to imply a hat shape.
– Add subtle white highlights to enhance depth.
– Seal with top coat.
Tips:
– Use a thin brush for clean hat edges; clean up mistakes with a small brush dipped in nail polish remover.
Candy Cane Stripes All-Over
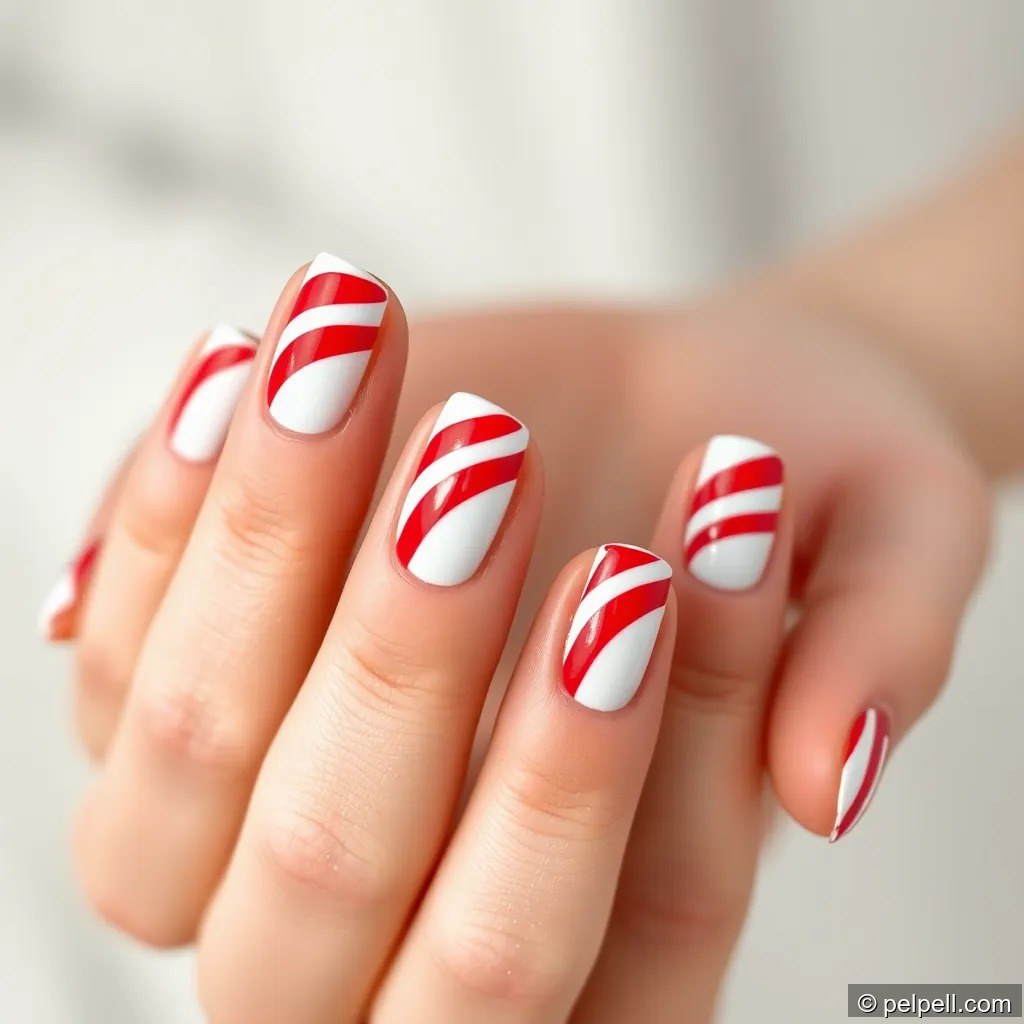
Description: Red and white stripes for a bold candy-cane effect across every nail.
Materials:
– Red and white polishes
– Striping brush or thin brush
– Base coat and top coat
Steps:
– Apply base color (choose red or white); dry.
– Create alternating curved stripes with the other color to mimic candy cane swirls.
– Ensure stripes are close but not touching for a clean look.
– Finish with top coat.
Tips:
– A steady hand helps; rest your hand on a flat surface to avoid wobble.
– Use a thin brush for crisp lines.
Winter Night Sky with Snow Glitter
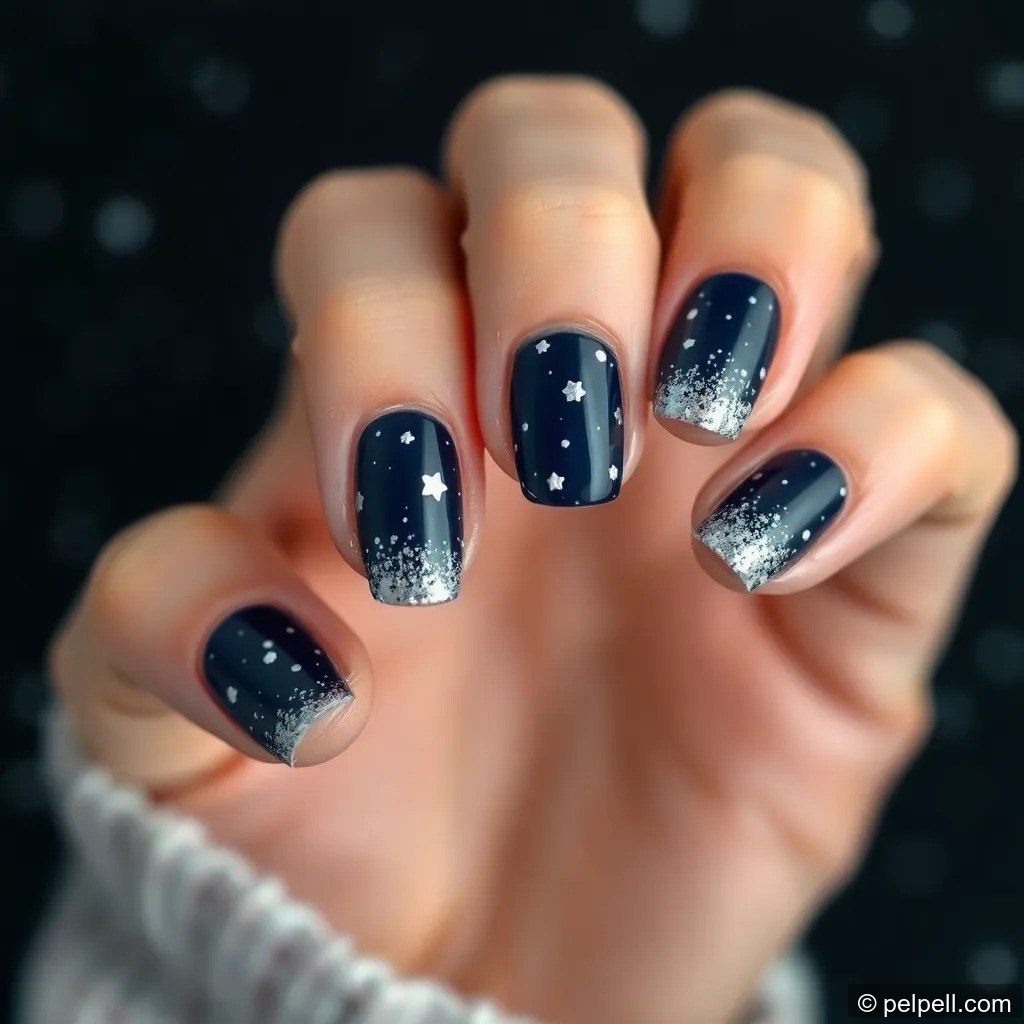
Description: A deep blue or black base with silver/white stars and fine glitter for a magical, starlit look.
Materials:
– Navy blue or black polish
– White and silver glitter
– Dotting tool or small brush
– Top coat
Steps:
– Apply base color; dry.
– Add random white dots for stars using a dotting tool; sprinkle silver glitter densely near cuticles to resemble distant stars.
– Optionally add a fine gradient of glitter from tips to middle.
– Seal with top coat.
Tips:
– Use a streaming effect to simulate a galaxy; place larger stars sparingly for balance.
Gold Foil French Tips
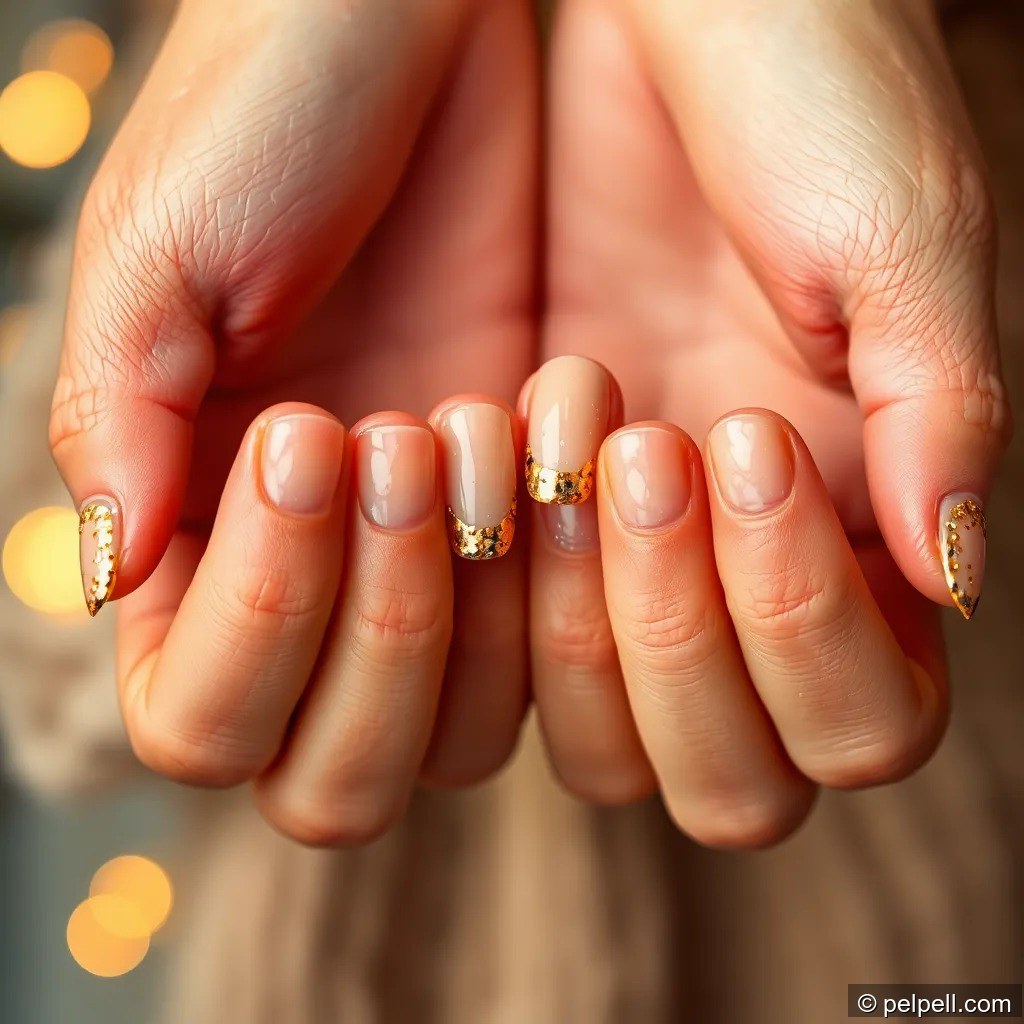
Description: A luxe twist on the French manicure with gold foil accents at the tips.
Materials:
– Nude or sheer base
– Clear top coat and foil sheets
– Small tweezers
– Top coat
Steps:
– Apply base in a sheer color; dry.
– Place small gold foil pieces at the tips or create a foil line with adhesive and press foil on.
– Cover with a protective top coat to prevent foil lifting.
Tips:
– Work with foil on a tacky surface; otherwise, it’s hard to place.
Snowman Accent Nail
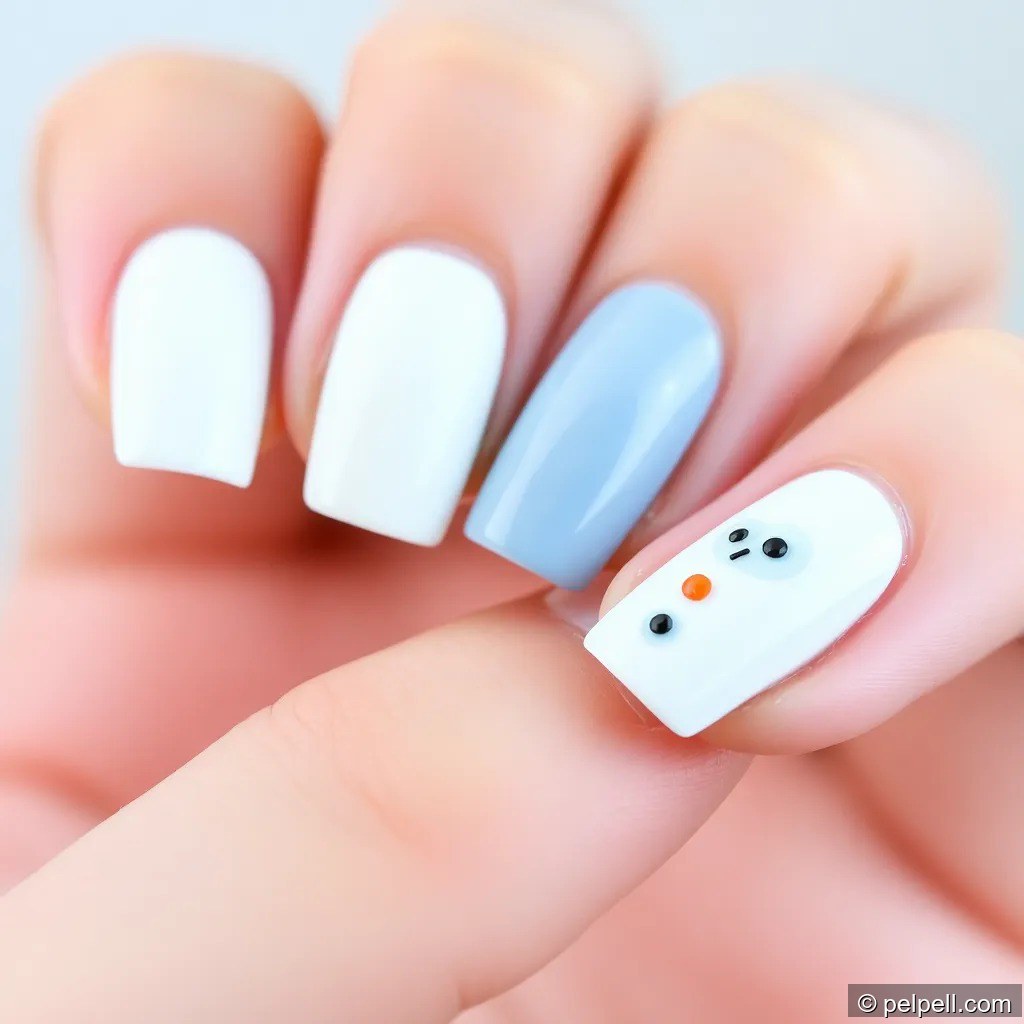
Description: A cute snowy scene on the ring finger featuring a minimal snowman against a pale blue or white base.
Materials:
– White and pale blue nail polishes
– Black and orange polish for features
– Dotting tool
– Top coat
Steps:
– Paint all nails with base colors; let dry.
– On the accent nail, paint a simple snowman: two circles for body, dot eyes, carrot nose.
– Add a tiny scarf or hat if desired; finish with top coat.
Tips:
– Simple shapes read best; don’t overcomplicate for small nails.
Reindeer Nail Art
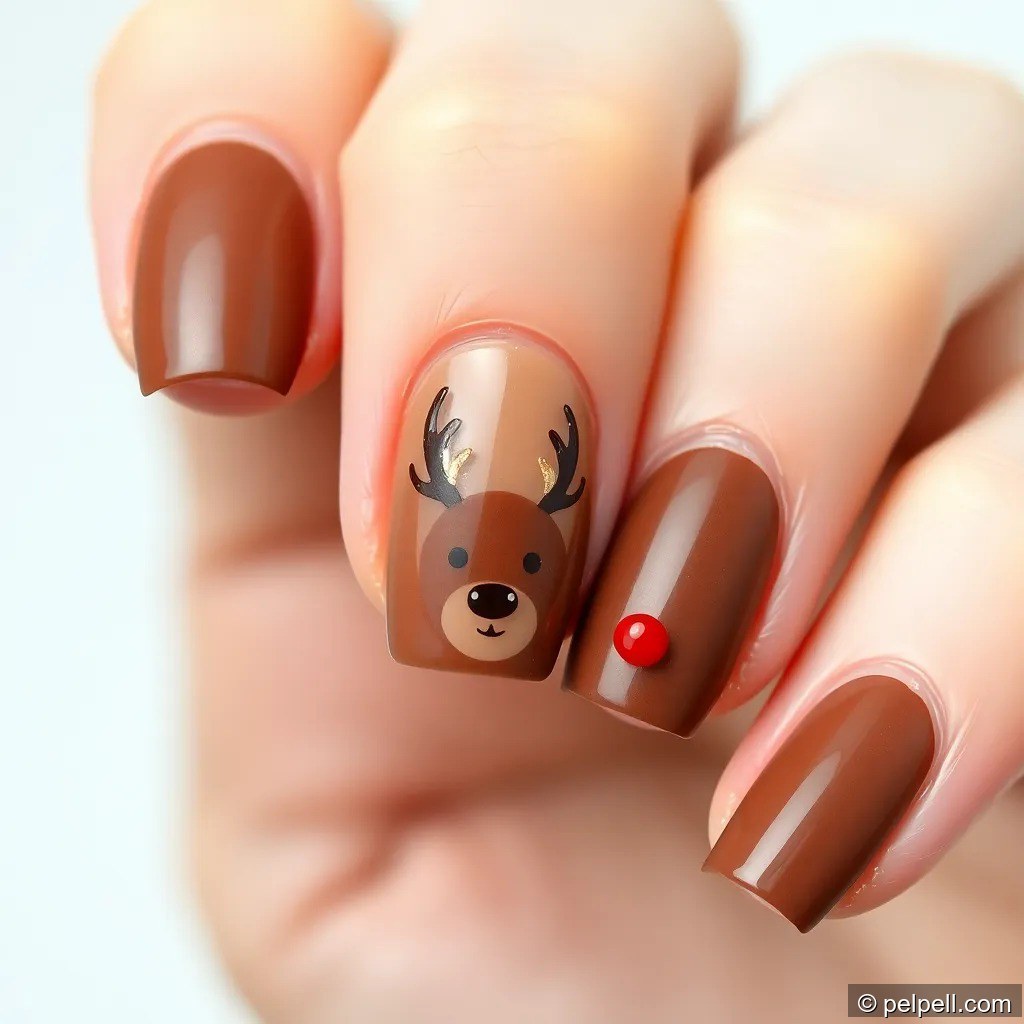
Description: A playful reindeer motif on one or two nails with golden antlers.
Materials:
– Nude or brown base
– Dark brown or black for antlers
– Gold detail brush or striping brush
– Dotting tool for eyes
Steps:
– Create a quick reindeer face on an accent nail using brown polish.
– Add gold antlers with a fine brush; place tiny black eyes.
– Add a red nose on one nail for Rudolph if desired.
– Seal with top coat.
Tips:
– Use stamping for precise antlers if freehand is challenging.
Green Marble with Red Accents
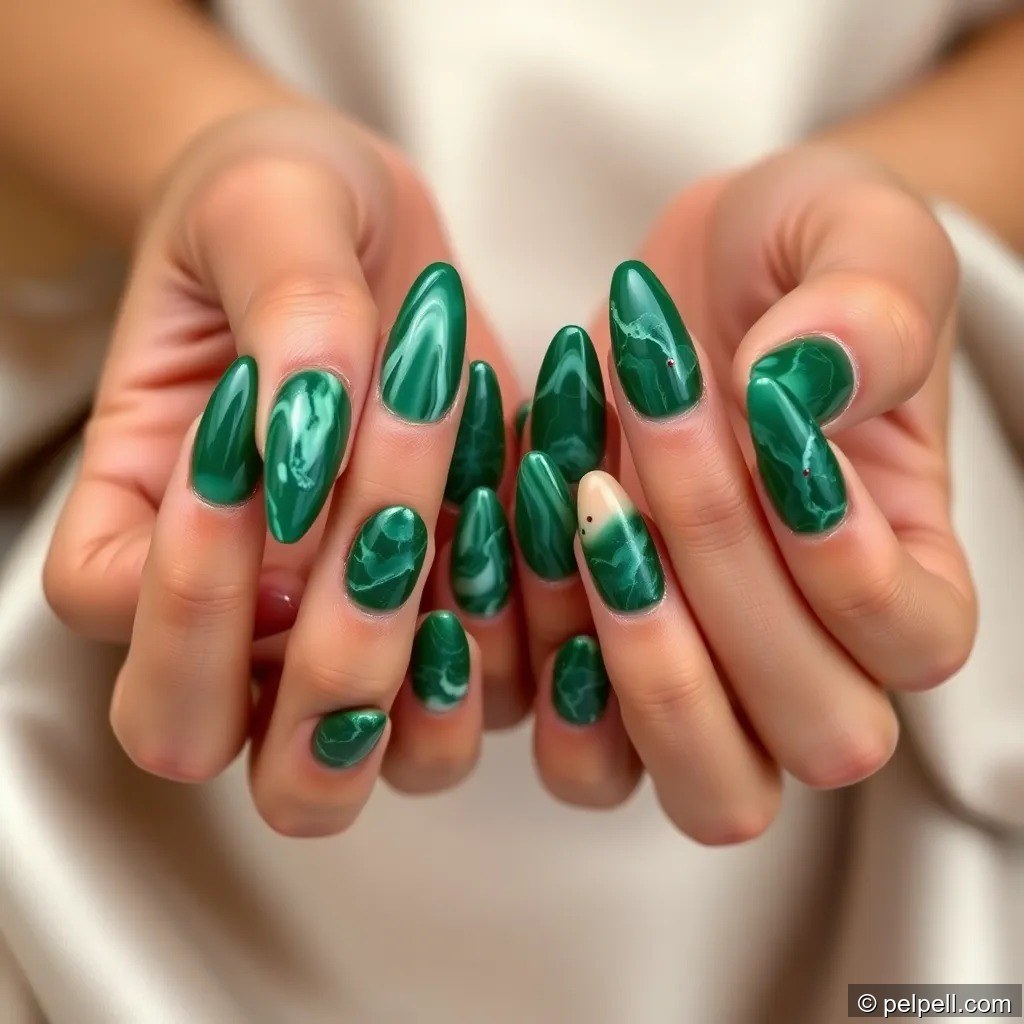
Description: Marble nails in deep green with red accents for a chic, high-fashion holiday vibe.
Materials:
– Green, white, and red polishes
– Marble technique tools (skewer, needle)
– Top coat
Steps:
– Create a green marble base on all nails or select nails; use white and green swirls with a red accent dot.
– Let dry; apply top coat.
Tips:
– Water-marble or dry-marble techniques both work; the latter is less messy.
Jingle Bells Nail Art
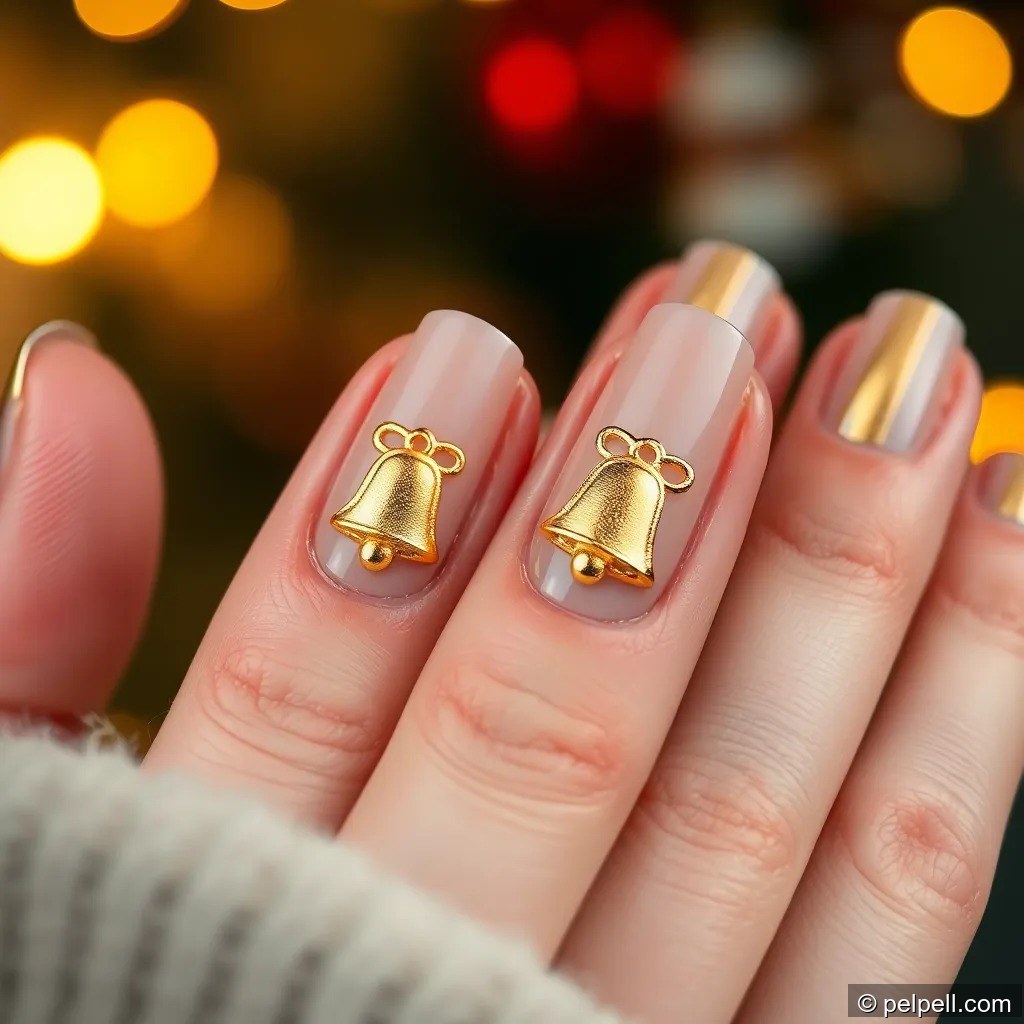
Description: A festive nail featuring small bell motifs and a metallic vibe.
Materials:
– Chrome or metallic gold polish
– Black and white for details
– Dotting tool and tiny brush
– Top coat
Steps:
– Paint base in a neutral shade.
– Add a tiny bell outline using gold polish on one or two nails; fill with gold and add small rings (white or black) to suggest clappers.
– Finish with top coat.
Tips:
– Use a fine brush to achieve crisp bell shapes.
Mistletoe and Berries Accent Nail
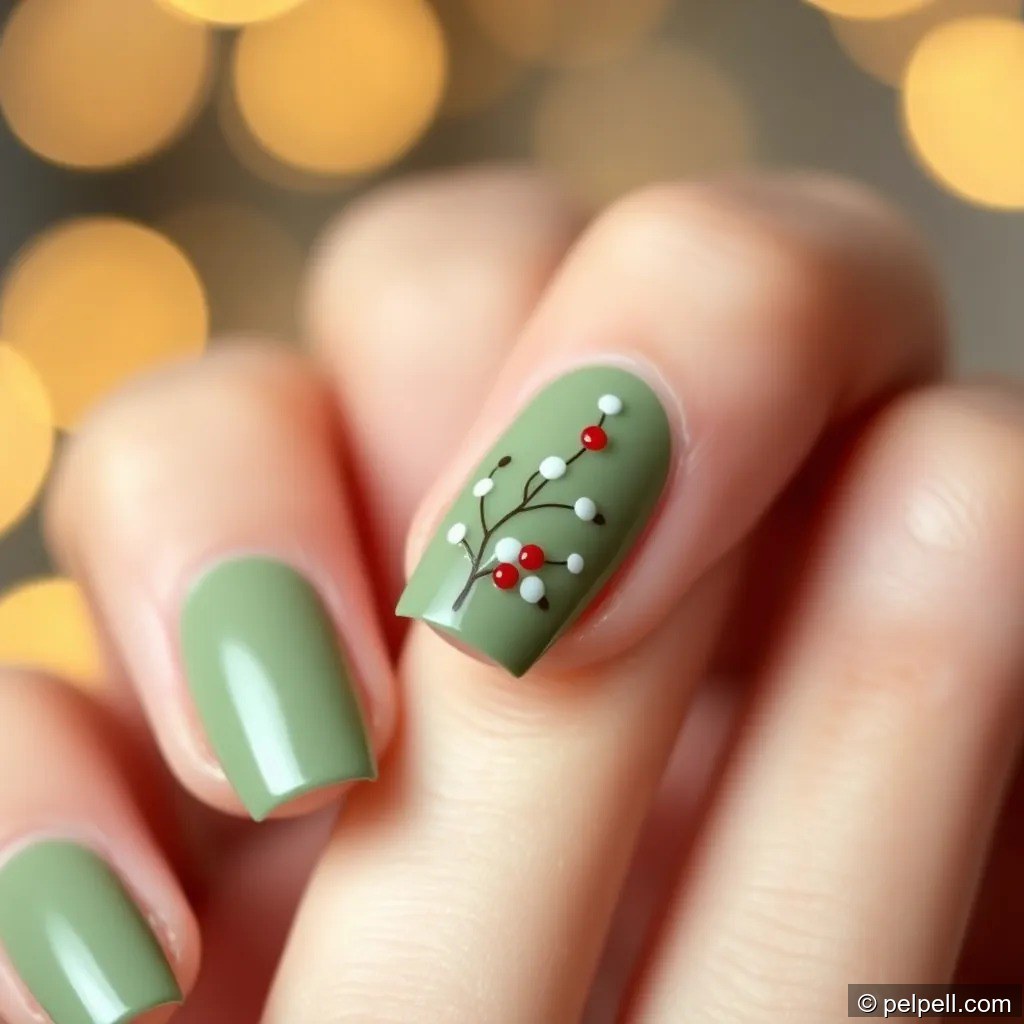
Description: A classic holiday element: green leaves with red berries on an accent nail.
Materials:
– Green polish
– White or light green for leaves
– Red for berries
– Dotting tool
– Top coat
Steps:
– Base nails with a neutral or green tone.
– On the accent nail, paint two small leaves and red berries using a dotting tool.
– Finish with a glossy top coat.
Tips:
– Keep shapes simple for small nails; minimalistic leaves read clearly.
Peppermint Swirl Nail
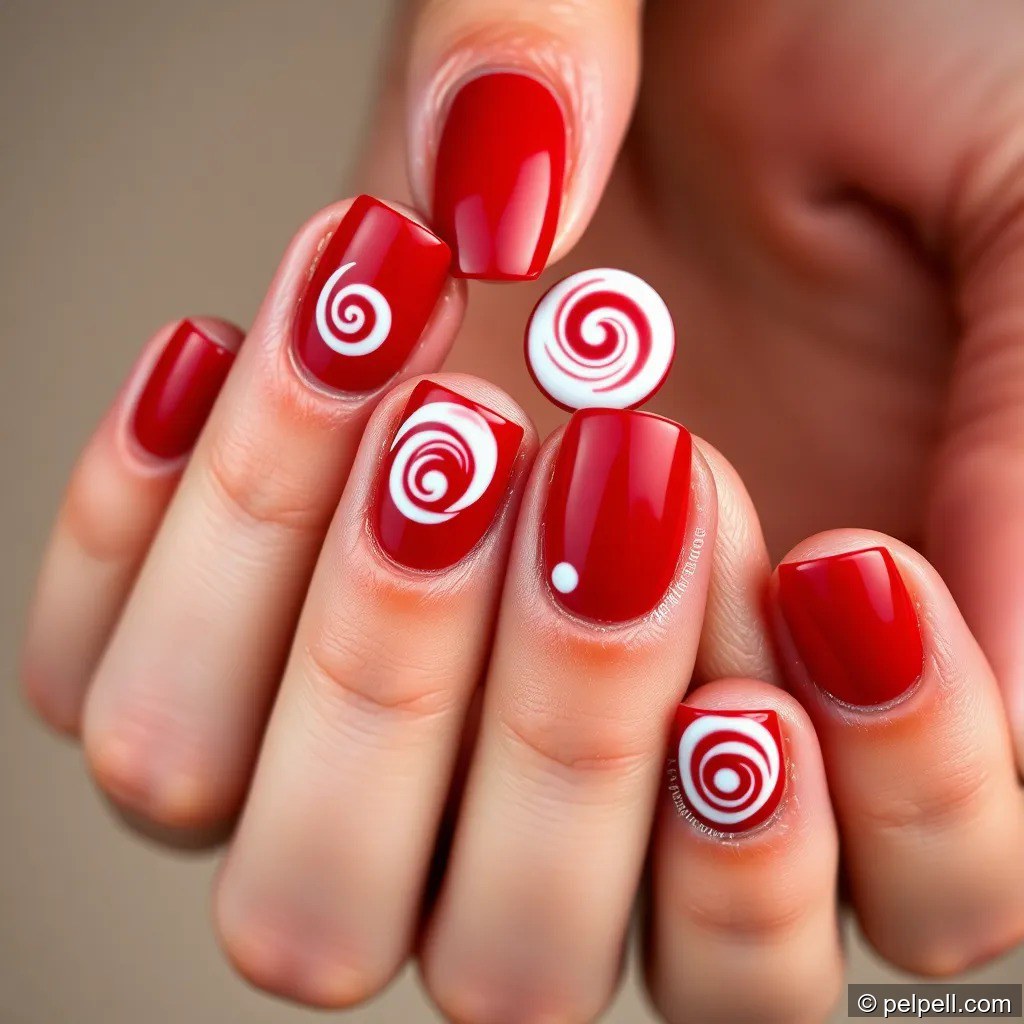
Description: A spiral peppermint swirl on several nails for a candy-like twist.
Materials:
– Red and white polishes
– Thin brush or toothpick for swirl
– Top coat
Steps:
– Apply red base; dry.
– Create a swirl with white polish using a thin brush or toothpick; repeat on all nails except maybe one accent nail.
– Seal with top coat.
Tips:
– Practice the swirl on a plastic sheet first if you’re not confident.
Christmas Tree Nail Art
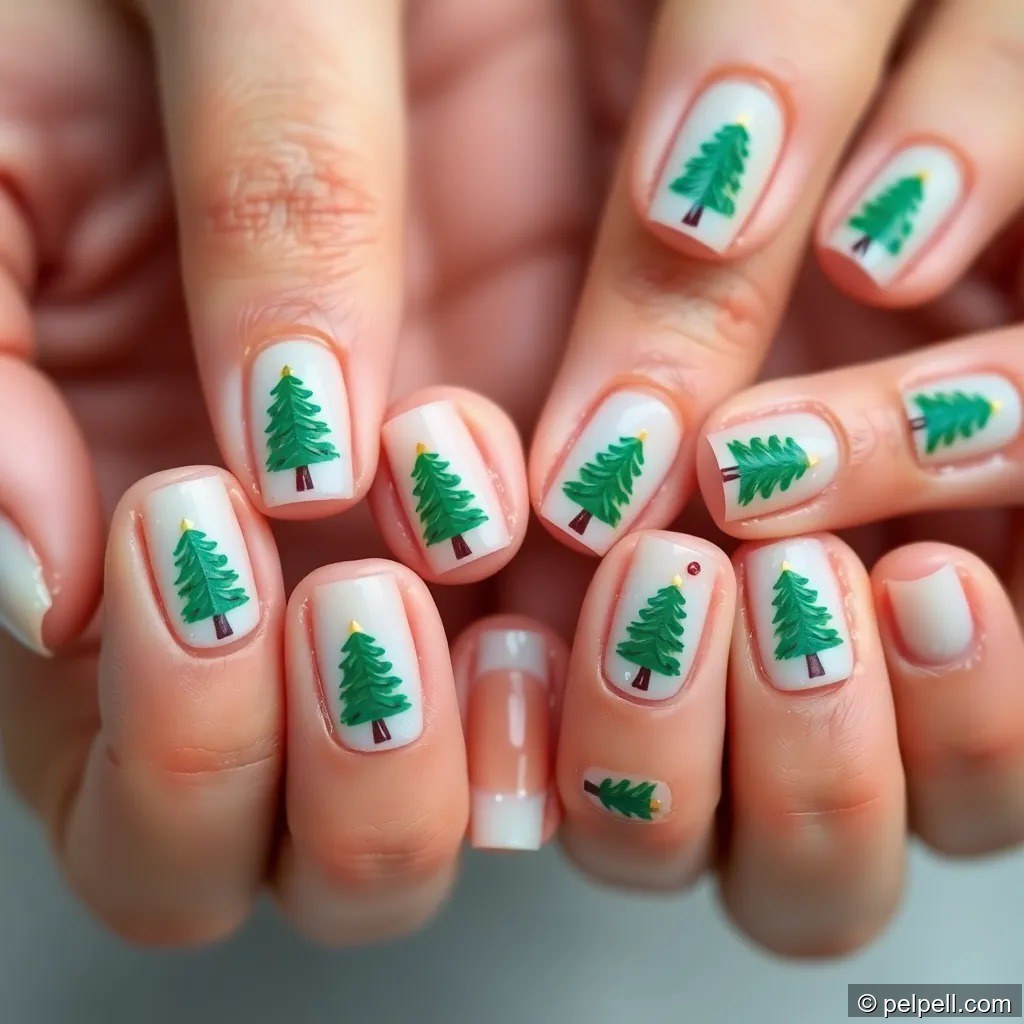
Description: Tiny evergreen trees across nails, sometimes with rhinestones as ornaments.
Materials:
– Green polish
– Black or brown for trunk
– White or red for ornaments
– Dotting tool or liner brush
– Rhinestones (optional)
– Top coat
Steps:
– Paint base color; dry.
– Use a fine brush to paint small tree shapes in green; add trunk.
– Add tiny dots as ornaments with red or white polish; optional rhinestones.
– Top coat seal.
Tips:
– Multi-nail trees create a cohesive, festive look.
Glitter Gradient (Silver or Gold)
Description: A gradient from base to tip with heavy glitter near the top for a frosty shine.
Materials:
– Base color (neutral or deep color)
– Silver or gold glitter polish (or loose glitter with clear top coat)
– Top coat
Steps:
– Apply base color; dry.
– Brush glitter from the cuticle area toward the center for a gradient.
– Add more glitter at the base if needed; finish with top coat.
Tips:
– Tap the brush lightly to spread glitter evenly; use a second coat for density.
Snowflake Accent Nail
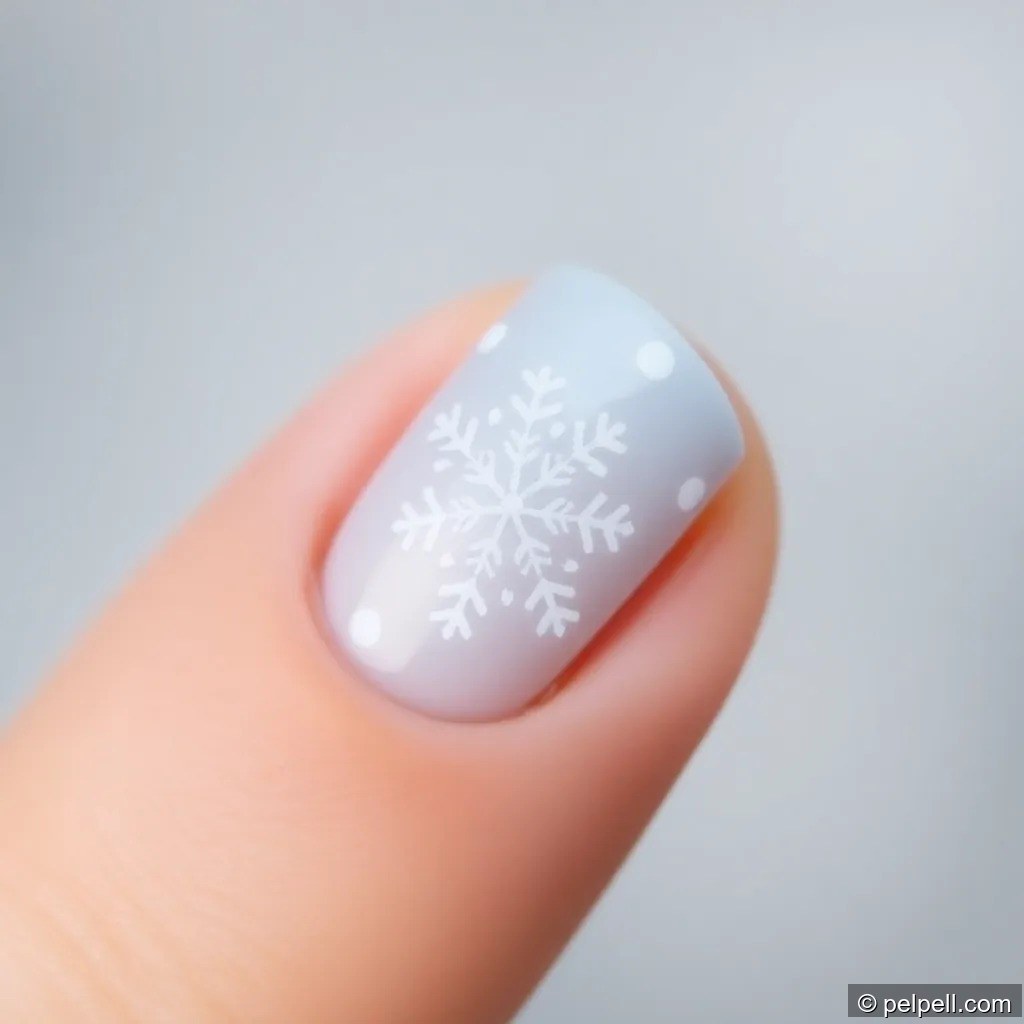
Description: A single accent nail with delicate snowflake patterns on a pale blue or white background.
Materials:
– Light blue or white base
– White polish for snowflakes
– Fine liner brush or stamping plate
– Top coat
Steps:
– Paint base color; dry.
– Use a fine brush or stamping plate to create snowflake patterns on the accent nail.
– Add subtle dots around for a flurry effect.
– Seal with top coat.
Tips:
– White-on-white requires clean, steady lines; use a steady hand or stamping plate for precision.
Polar Bear Theme
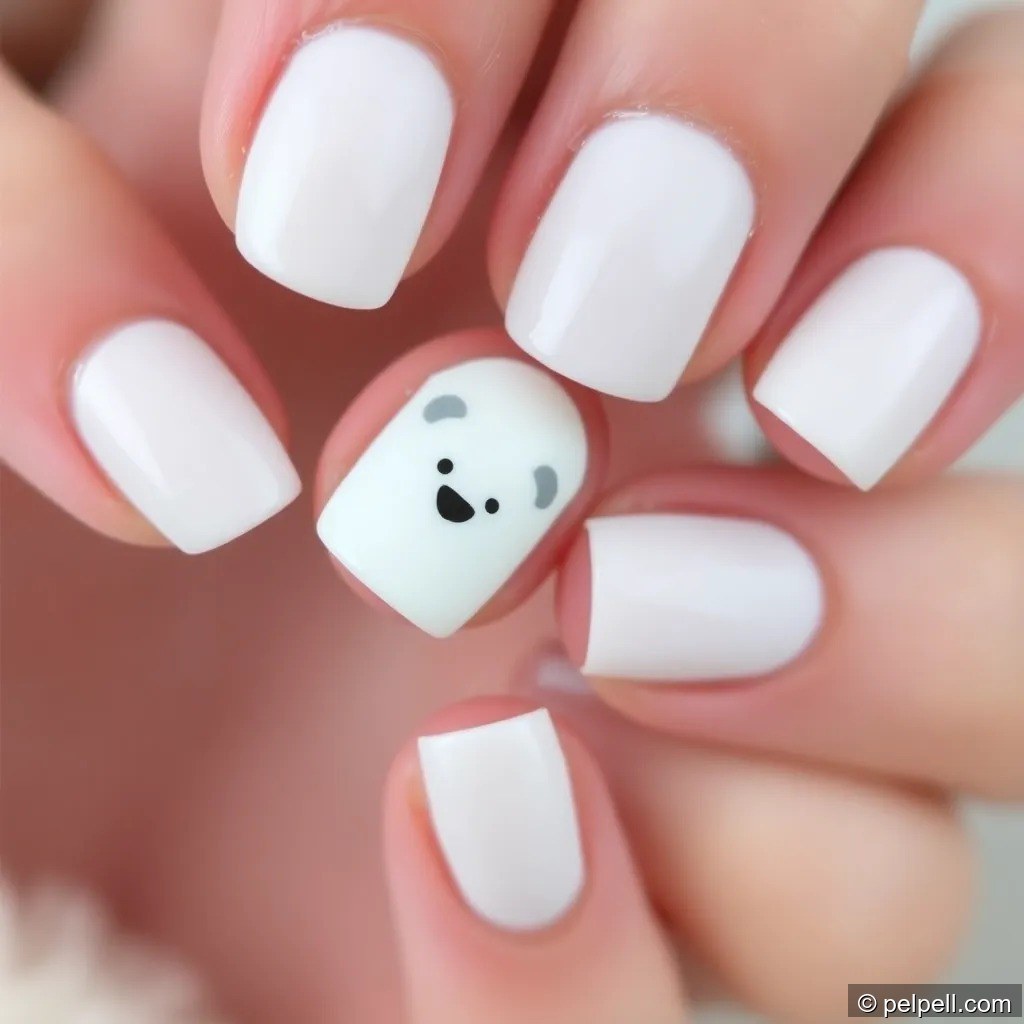
Description: A tiny polar bear or polar scene on an accent nail for a cute winter vibe.
Materials:
– White and light gray polishes
– Black for eyes and nose
– Tiny brush or dotting tool
– Top coat
Steps:
– Base nails in pale colors.
– On the accent nail, paint a small polar bear face or outline with gray shading.
– Add eyes and nose; finish with top coat.
Tips:
– Keep shapes simple for legibility on short nails.
Holographic Frost Gradient
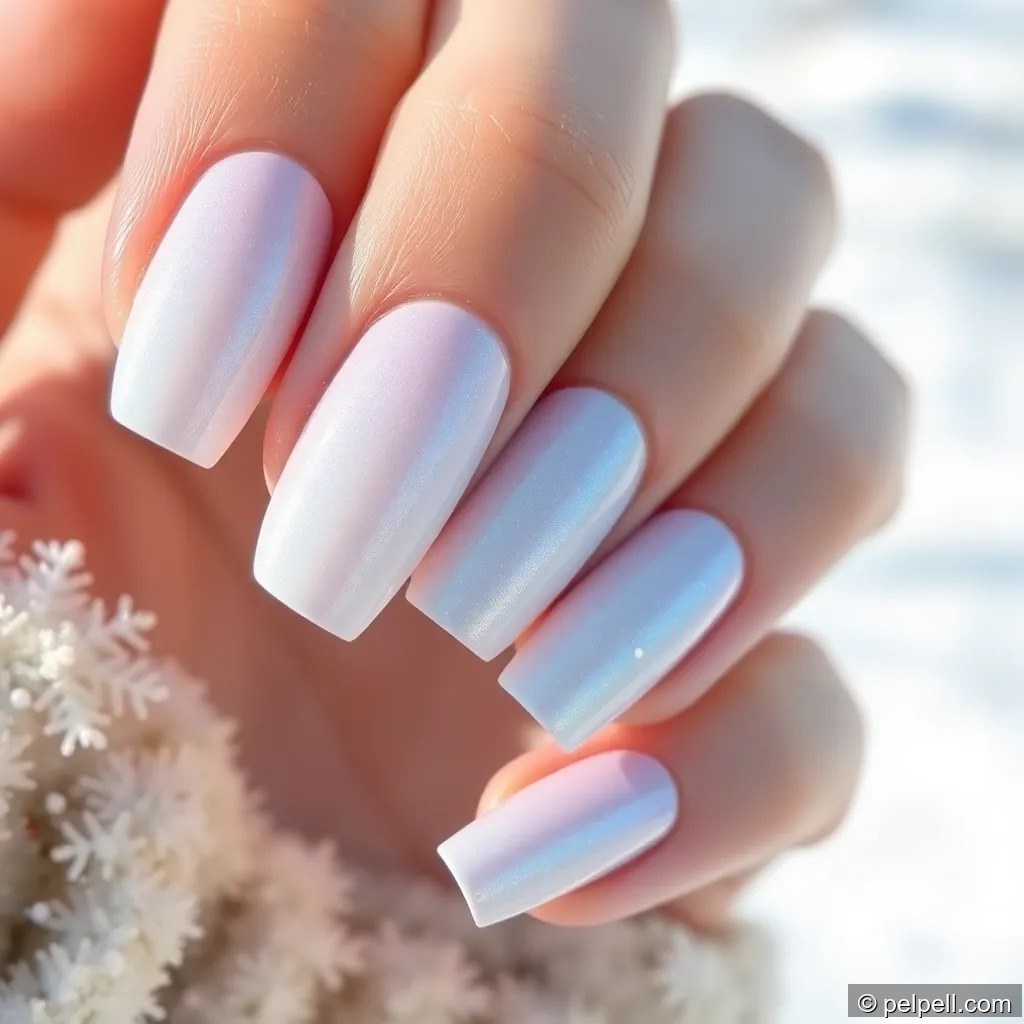
Description: A frosty, holographic gradient that shifts color with light, perfect for a wintry glow.
Materials:
– White or pale blue base
– Holographic top coat or holo polish
– Clear top coat
Steps:
– Base color; dry.
– Apply holographic polish in a gradient from tips or cuticle depending on desired look.
– Top with clear top coat to extend wear.
Tips:
– Holo polishes pop in natural light; avoid heavy gel top coats that dull the holo effect.
Silver and White Feathered Snow
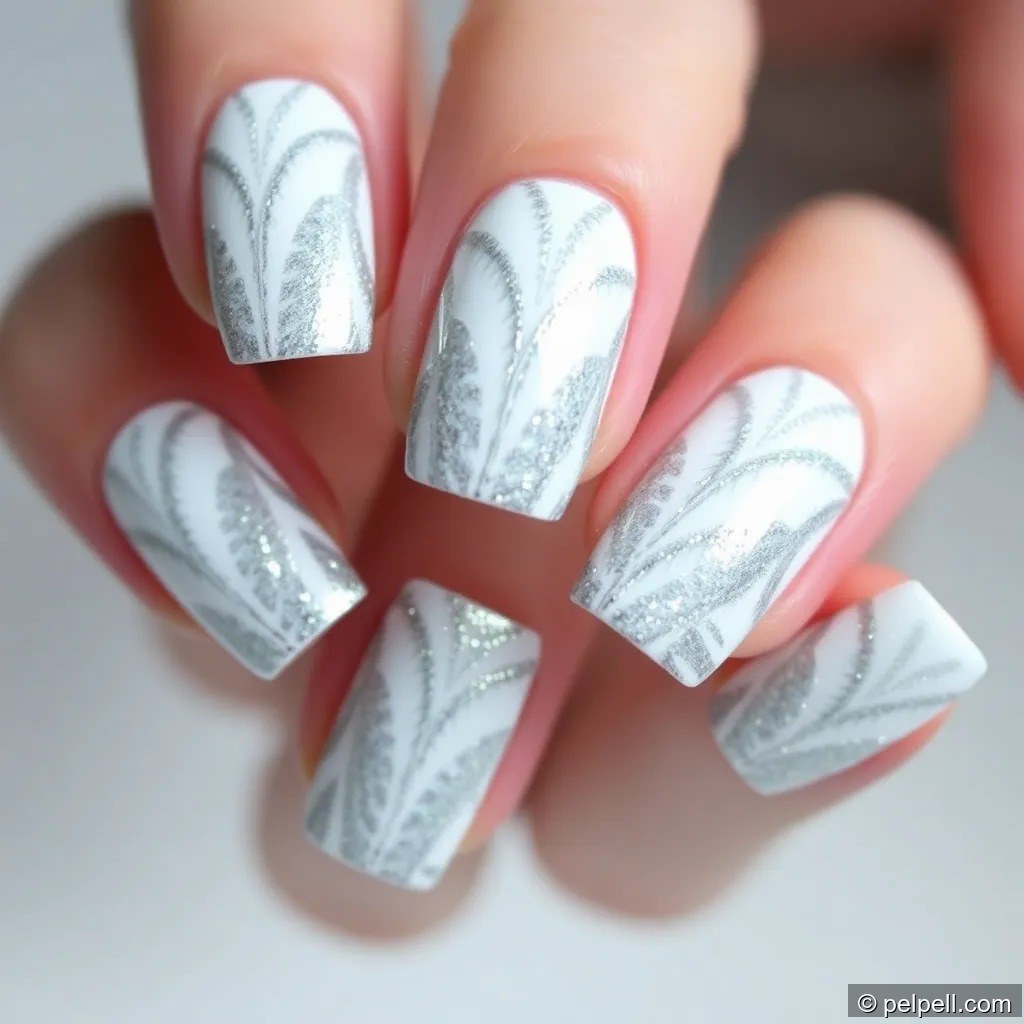
Description: A chic, feather-like texture using silver and white for a soft, modern winter look.
Materials:
– White base
– Silver and white clay or fine glitters or textured polish
– Fine brush
– Top coat
Steps:
– Create a white base; dry.
– Lightly brush a feather pattern with silver and white, layering to build texture.
– Finish with top coat for durability.
Tips:
– For added texture, use a matte top coat to contrast with the metallic sheen.
Red Matte with Silver Glitter

Description: A bold red matte base accented with silver glitter for a luxe holiday finish.
Materials:
– Red matte polish
– Silver glitter polish
– Matte top coat
– Top coat for sealing
Steps:
– Apply red matte base; dry.
– Paint silver glitter near the tips or as a thin side stripe.
– Apply a matte top coat to the red areas; keep glitter glossy.
Tips:
– Matte finishes highlight clean lines; avoid overworking red base.
Christmas Ornament Nail Art
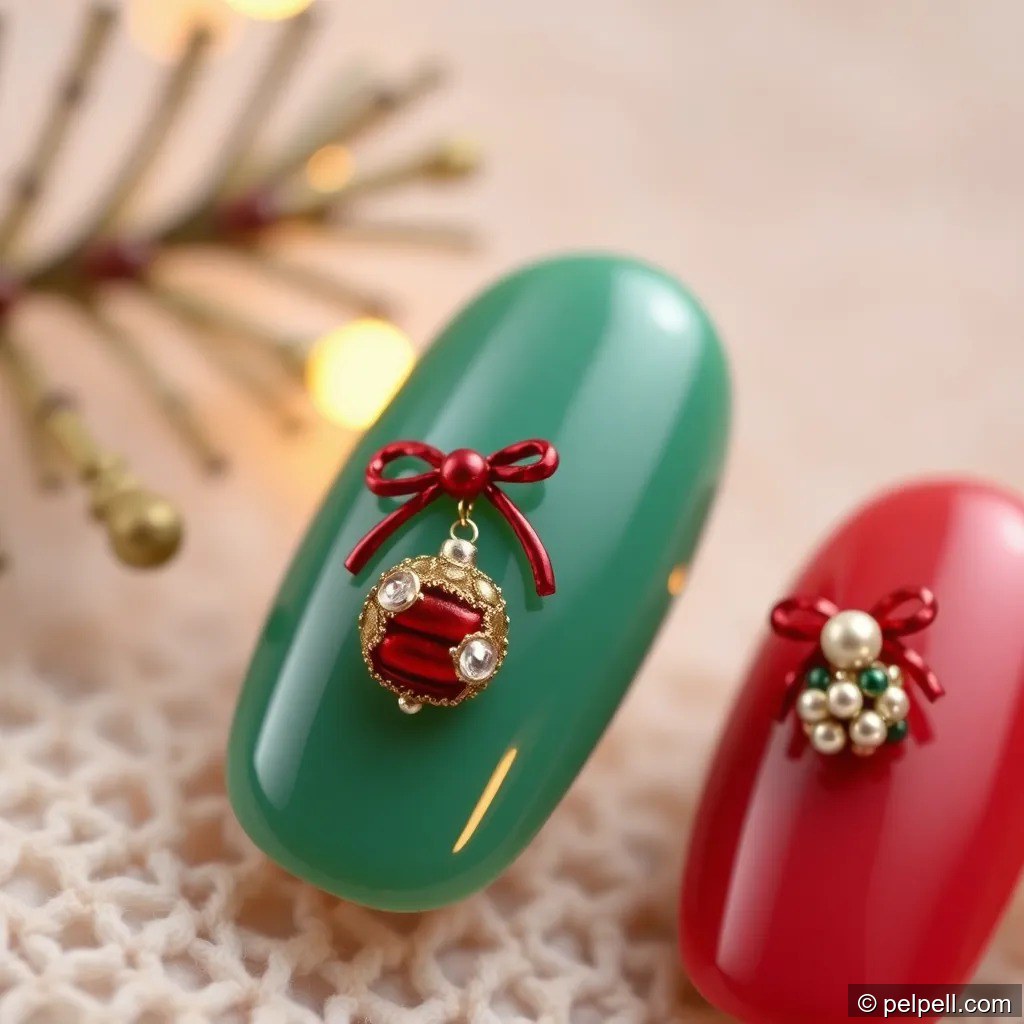
Description: One or two nails feature tiny ornament shapes with ribbons, beads, or rhinestones.
Materials:
– Base color(s) of choice
– Small beads or rhinestones for ornament balls
– Tiny brush or dotting tool
– Top coat
Steps:
– Paint base colors for a clean canvas.
– Draw round ornament shapes with a thin brush; add ribbons or caps.
– Adorn with beads or rhinestones as ornaments.
– Seal with top coat.
Tips:
– Use a dotting tool to place micro beads precisely; secure with a dab of clear polish if needed.
Conclusion
A 20-design Christmas Eve nails roundup gives you a full spectrum of festive options, from classic to contemporary, bold to delicate. Whether you prefer a timeless plaid, a snowy sparkle, or playful character accents, these ideas provide practical steps and product tips to help you achieve polished, professional results at home. Ready to try one (or several) of these designs? Pick your favorite palette, gather the essentials, and start with a clean canvas. For extra durability, prep with a strong base coat and finish with a high-quality top coat. Share your manicure progress and final look with friends or on social media, and pin this guide for later holiday nail inspiration.