Get ready for Christmas Eve with a manicure that’s stylish, festive, and made to shine through every dinner, gift exchange, and photo moment. Here are five nail designs that capture the magic of the season while staying practical for a busy holiday calendar. Whether you love velvet reds, crisp snowflakes, or glittery gold accents, these 5 Christmas Eve nails ideas are perfect for celebrating in style.
Crimson Velvet with Gold Foil
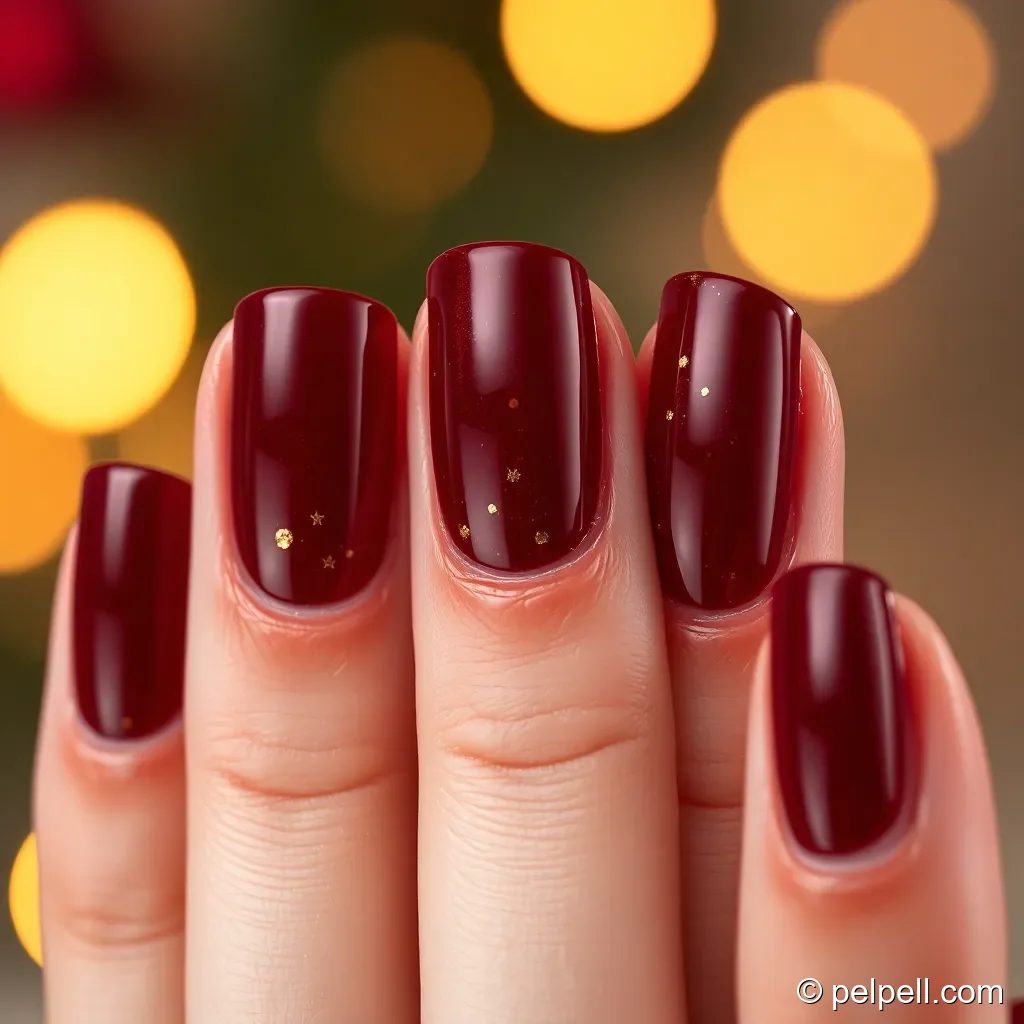
Channel the luxurious look of holiday velvet with a deep crimson base and delicate gold foil accents. This design feels opulent without being overly loud, making it ideal for Christmas Eve gatherings.
What you’ll need
- Base coat
- Crimson red nail polish
- Gold foil sheets or micro-glitter
- Top coat
- Nail art tweezers or a thin brush (for foil placement)
Steps
- Apply a clear base coat to protect nails and extend wear.
- Paint two coats of crimson red, allowing each coat to dry fully.
- Once dry, place small pieces of gold foil randomly or in a chevron pattern using tweezers. Gently press to adhere with a thin brush if needed.
- Seal with a glossy top coat to lock in foil and add shine.
- Finish with a second top coat for extra durability.
Pro tips
- Work quickly when applying foil to prevent it from shifting.
- Finish with a thick top coat to prevent foil flaking off during holiday activities.
Snowflake French Tips

A fresh take on the classic French mani, this design uses crisp white tips with delicate snowflake accents for a wintry, festive vibe perfect for Christmas Eve night.
What you’ll need
- Base coat
- Sheer pink or nude base, or a soft pink gel polish
- White nail polish or white gel polish for tips
- Snowflake decals, stamping plate, or fine nail art brush
- Top coat
Steps
- Apply a base coat and allow it to dry.
- Apply a sheer pink/nude base color and let it fully set.
- Paint a crisp white tip on each nail (or use a French tip guide for precision).
- Add tiny snowflakes or a subtle winter motif with decals, stamping, or a fine brush.
- Finish with a generous top coat to smooth out decals and add durability.
Pro tips
- Keep the white tips neat by using a French tip guide or tape.
- Use a small brush and white gel polish for micro snowflakes for cleaner lines.
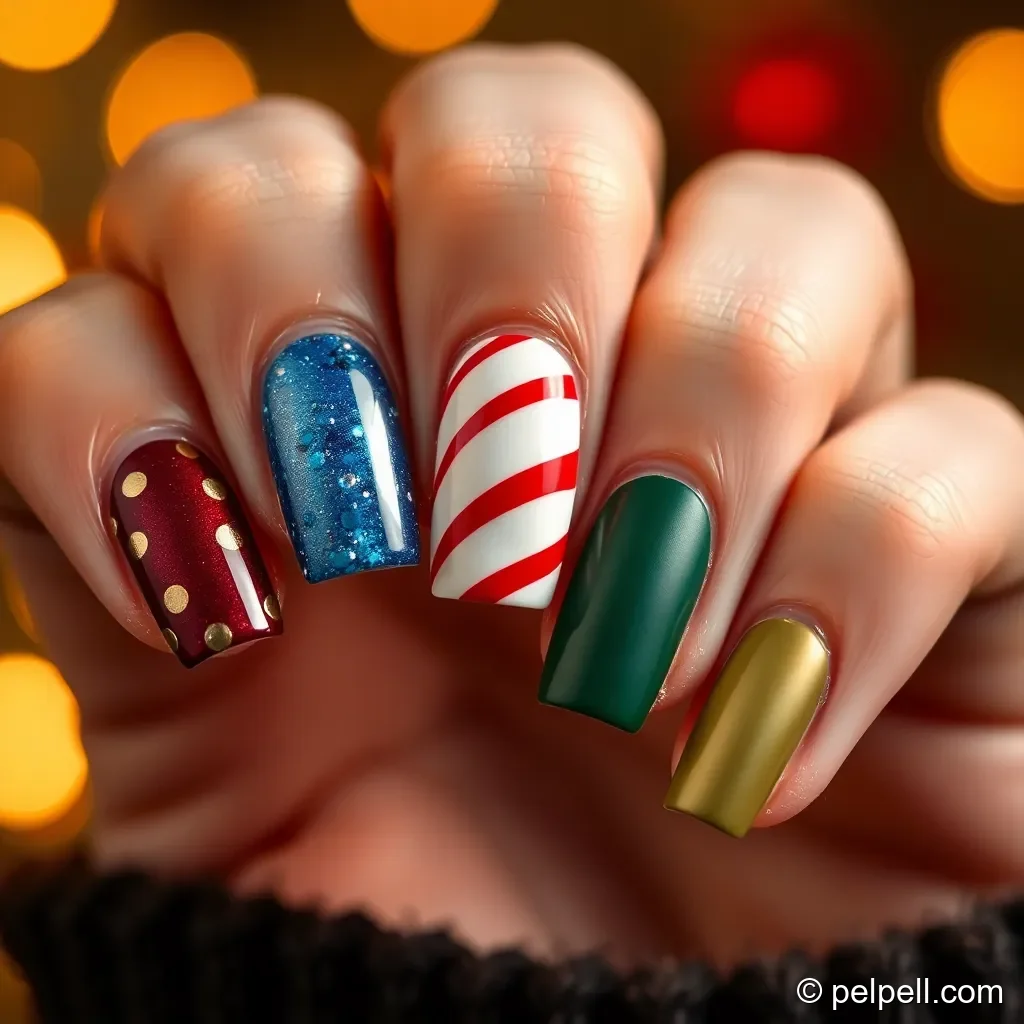
Candy Cane Stripes and Peppermint Swirls

Red and white stripes evoke peppermint goodness and holiday cheer. This bold design is eye-catching in photos and pairs beautifully with metallic accents or glitter.
What you’ll need
- Base coat
- Red nail polish
- White nail polish or gel
- Striping brush or nail striping tape
- Top coat
Steps
- Start with a clear base coat, then apply two coats of red as the main color.
- Once dry, use a striping brush or thin tape to create vertical or diagonal white stripes across each nail. Alternate directions for a candy-cane look.
- For extra flair, add a single thin white swirl on one accent nail with a fine brush to mimic a peppermint swirl.
- Seal with a glossy top coat to protect the design.
Pro tips
- If you don’t have striping tape, use a striping brush in short, careful strokes to achieve clean lines.
- Consider adding a matte top coat on all nails except the accent nail to create a modern twist.
Emerald Green with Gold Glitter Accent

Rich emerald green nails paired with a gold glitter accent nail or gold speckled tips create a festive, festive-but-sophisticated look that’s ideal for Christmas Eve celebrations.
What you’ll need
- Base coat
- Emerald green nail polish
- Gold glitter or micro-glitter
- Top coat
- Small brush or dotter (for precise glitter placement)
Steps
- Apply base coat, then two coats of emerald green for full coverage.
- On the accent nail (or on a few selected nails), apply top coat and sprinkle gold glitter while it’s tacky, or use a gold glitter polish for a clean gradient.
- Finish with a clear top coat to seal in glitter and smooth the surface.
Pro tips
- Use a gel top coat for glitter nails to prevent shedding and to extend wear.
- Place glitter sparingly on a feature nail for a chic, balanced look.
Frosted Blue with Silver Stars
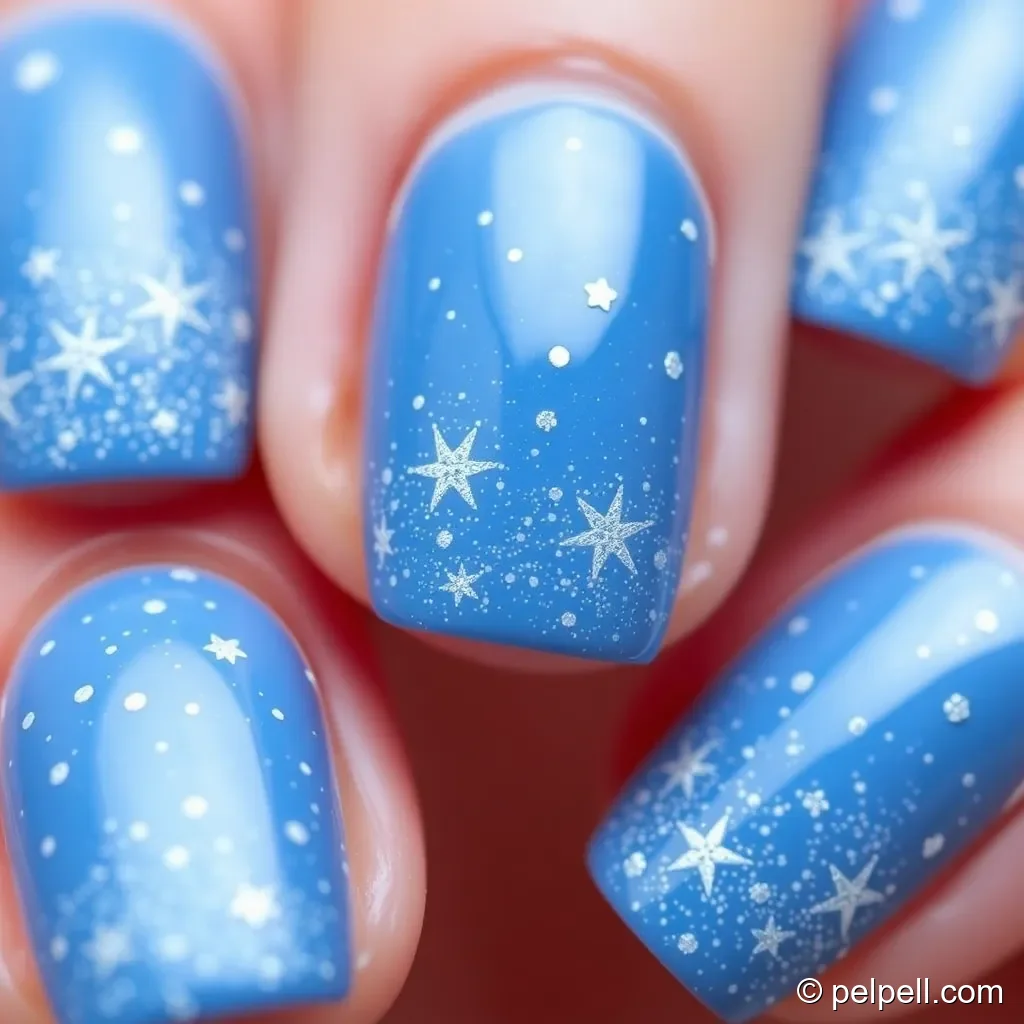
Imagine a winter night sky: frosted blue nails with tiny silver stars and a touch of white for snowfall. This design feels contemporary and refined, perfect for Christmas Eve celebrations that extend into late-night celebrations.
What you’ll need
- Base coat
- Light-to-mid blue nail polish
- Silver star decals, stickers, or a fine brush for hand-painted stars
- White nail polish or acrylic for snow accents
- Top coat
Steps
- Apply base coat and two coats of blue for full coverage.
- Decorate with silver stars using decals or hand-paint tiny stars with a fine brush. Add a few snowflakes using white polish for variety.
- Finish with a clear top coat to keep the design smooth and long-lasting.
Pro tips
- For a subtle look, place stars on only two nails per hand as an accent while the rest stay solid blue.
- Add a matte top coat on some nails for a modern texture contrast.
Conclusion
These 5 Christmas Eve nails ideas offer a range of vibes—from luxurious velvet and gold to wintry blues and crisp candy-cane stripes—so you can pick a look that fits your outfit, mood, and schedule. The key is to choose a design you can achieve with the tools you already have, while keeping durability in mind for long evenings and photo moments. If you try one of these looks, share your results in the comments or tag us on social media. Wishing you a festive, stylish, and memorable Christmas Eve!