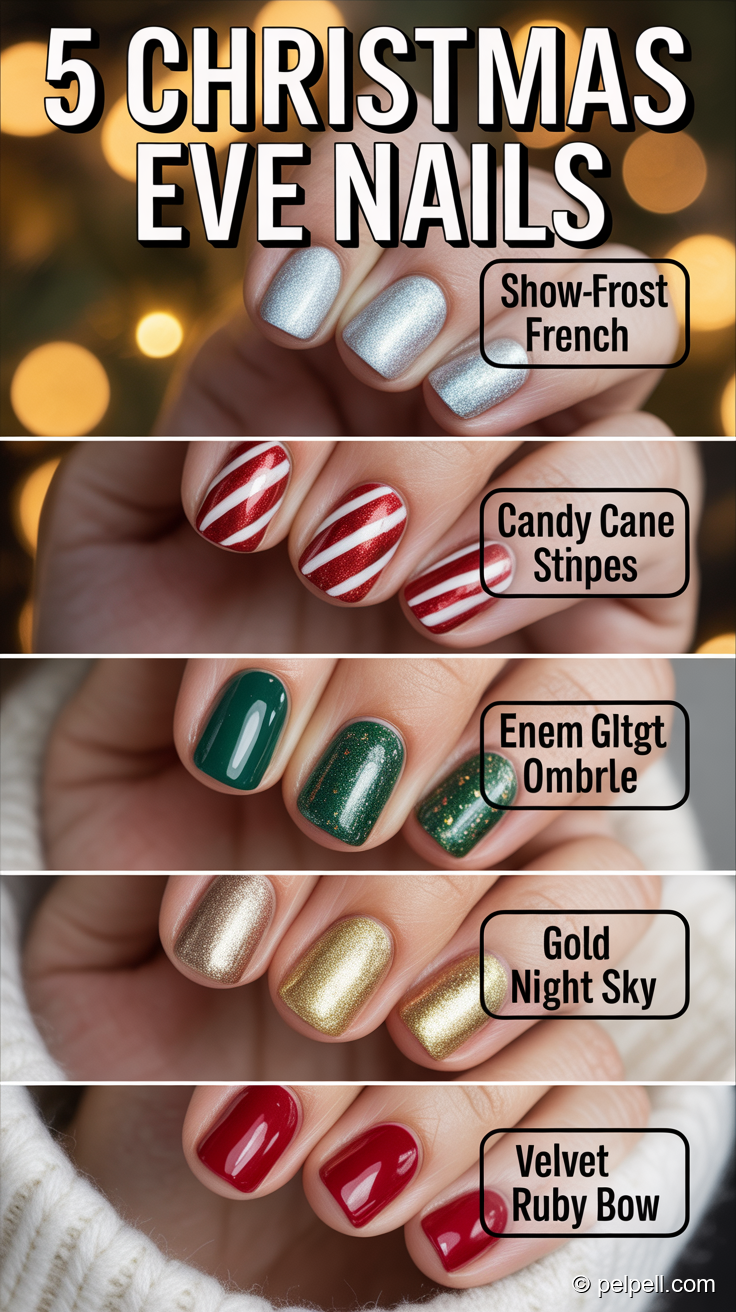
Christmas Eve is the perfect time to experiment with festive nail art that’s both chic and holiday-appropriate. Below are five nail designs that celebrate the season, designed to last through parties and cozy evenings alike. Each design includes a quick materials list, simple steps, and pro tips to help you achieve salon-worthy results at home.
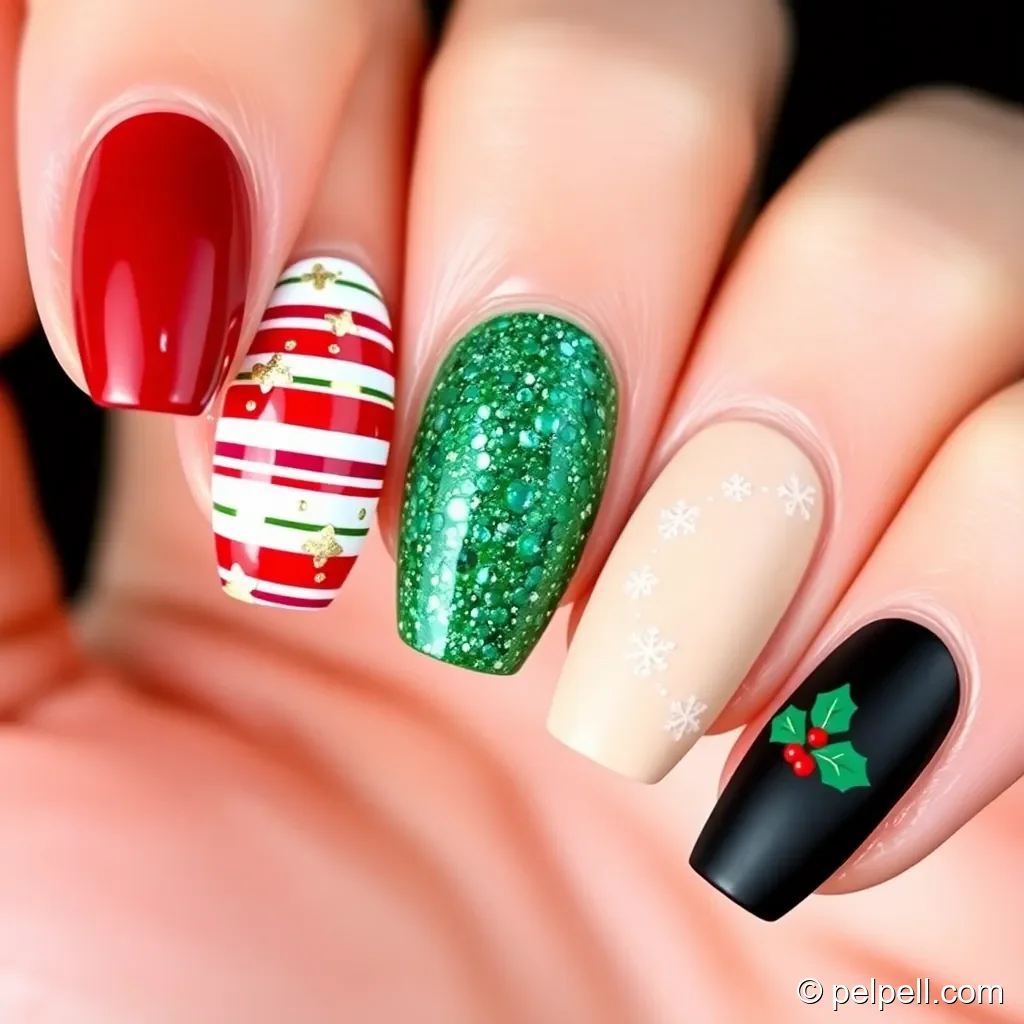
Classic Red and Gold Glitter

This design pairs a bold red base with radiant gold glitter accents for a timeless, elegant look that reads festive from across the room.
What you’ll need
- Red nail polish (creamy, glossy shade)
- Gold glitter top coat or gold foil/mini glitter pieces
- Clear top coat
- Base coat
- Striping tape or detailing brush
Steps
- Prep nails with a base coat to protect from staining and extend wear.
- Apply 1-2 coats of red polish and let dry completely.
- Use striping tape to create a diagonal or French-tip area for glitter.
- Paint the glitter top coat or press gold foil/glitter pieces into the designated area.
- Seal with a generous layer of clear top coat for long-lasting shine.
Pro tips
- For ultra-smooth glitter, apply a thin coat of clear polish before placing glitter pieces.
- Want a subtler look? Swap to metallic red or add small gold flecks on a couple of accent nails.
- Pair with warm gold jewelry to amplify the glam vibe.
Snowy White and Silver Snowflake Accent

A frosty white base with delicate silver snowflakes brings a whimsical, wintery touch perfect for Christmas Eve gatherings.
What you’ll need
- White nail polish (creamy finish)
- Silver nail polish or metallic nail art pen
- Fine brush or dotting tool
- Clear top coat
- Rhinestones or tiny silver glitter (optional)
Steps
- Start with a clean base coat, then apply two coats of white polish. Allow to dry.
- Using a fine brush or nail art pen, draw tiny snowflakes on the ring or accent nails. Add a few tiny dots to mimic falling snow.
- If desired, place a small rhinestone near the cuticle for a subtle sparkle.
- Finish with a clear top coat to lock in the design and add shine.
Pro tips
- Practice snowflake shapes on a sheet before applying to nails if you’re new to freehand art.
- Try a soft matte top coat for a modern twist on this classic look.
Emerald Green with Gold Foil
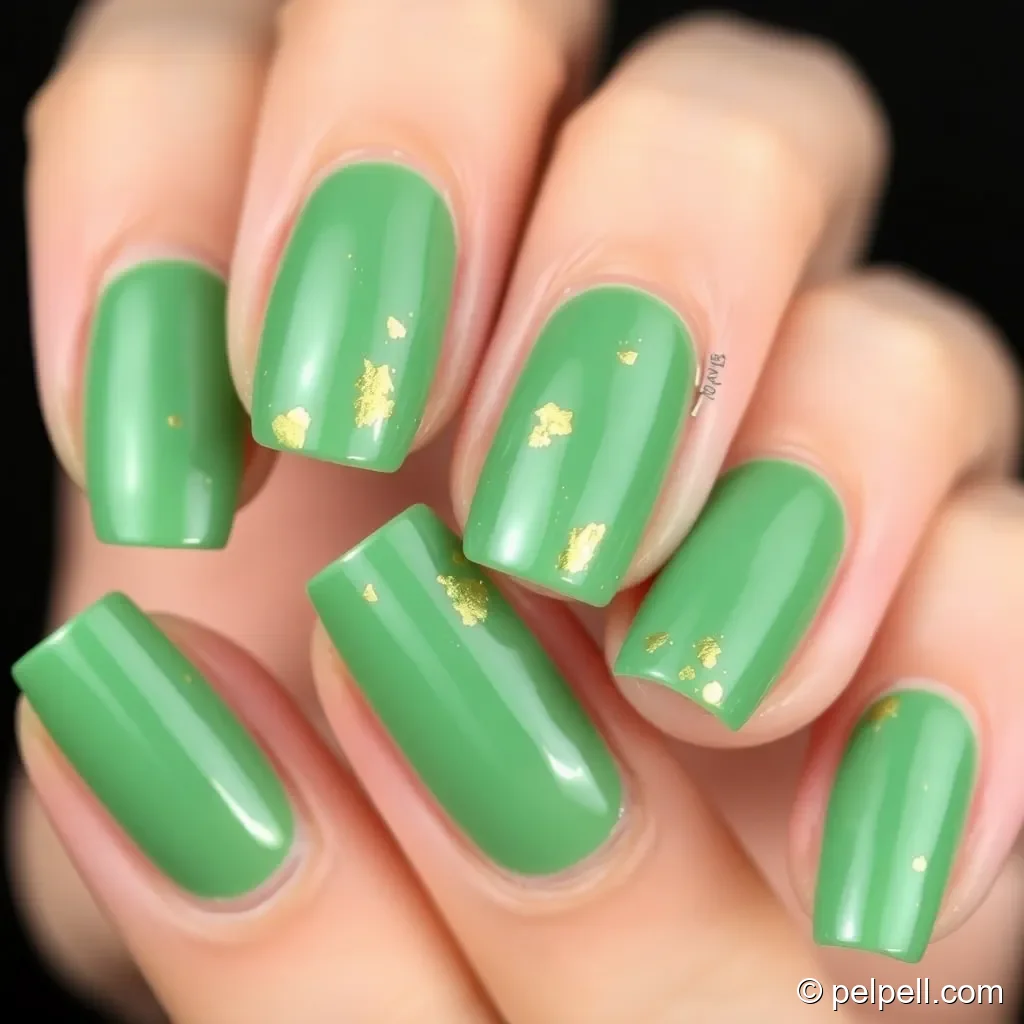
Green is a quintessential Christmas color, and pairing it with gold foil creates a luxe, festive manicure that’s modern and eye-catching.
What you’ll need
- Emerald green nail polish (creamy finish)
- Gold foil sheets or gold foil fragments
- Clear top coat
- Tweezers or a silicone brush for foil placement
- Base coat
Steps
- Apply base coat to protect nails, then two coats of emerald green polish. Let dry thoroughly.
- Gently press small pieces of gold foil onto the wet or tacky surface using tweezers or a silicone brush, creating an abstract pattern or a few accent nails.
- Seal with a clear top coat to smooth textures and prevent foil shedding.
Pro tips
- Foil works best when the green is slightly tacky; avoid fully dried polish for better foil adhesion.
- Cap the look with a shiny top coat for primary holiday glow, or use a matte top coat for a contemporary vibe.
Candy Cane Stripe

Red and white stripes evoke classic candy canes and instantly trigger holiday nostalgia. This design is simple yet striking on any nail length.
What you’ll need
- Red and white polish (or a red base with white polish for stripes)
- Striping brush or nail art tape
- Base coat and top coat
Steps
- Apply base coat and then your base color (red or white). Let dry fully.
- Using striping tape or a fine brush, paint thin white stripes across the nail or create diagonal candy-cane patterns on accent nails.
- Repeat on all nails or on selected nails for an asymmetrical look.
- Finish with a protective top coat to prevent chipping.
Pro tips
- For crisp lines, use tape only on fully dry layers or use a very steady hand with a fine brush.
- Alternate stripe widths for a playful twist.
Midnight Matte with Silver Stars

Dark, matte nails with silver star accents create a chic, modern look that still feels festive when paired with the right outfit.
What you’ll need
- Deep navy or black matte nail polish
- Silver star decals, stickers, or decals-free alternative with fine metallic glitter
- Matte top coat
- Base coat
Steps
- Apply base coat, then two coats of your chosen dark shade and finish with a matte top coat.
- Place silver star decals on one or two nails or sprinkle tiny stars in a deliberate pattern.
- Seal with another layer of matte top coat to keep the design smooth and long-wearing.
Pro tips
- Stars are easiest with decals; for a DIY approach, use a tiny dotting tool to paint little stars with a silver polish.
- Pair with a bold red lip or metallic accessories to echo the nail design.
Conclusion
Whether you prefer classic glamour, festive whimsy, or modern minimalism, these five Christmas Eve nail ideas offer something for every style and nail length. Remember to start with a good base and top coat to maximize longevity, and don’t be afraid to mix elements from different designs to create your own signature look. Which design will you try first for Christmas Eve? Share your favorites in the comments, and tag us in your nail pics to inspire others.