Jump into the holiday spirit with five stunning Christmas Eve nails. This guide offers SEO-friendly ideas that are both festive and wearable, whether you’re heading to a family dinner, a party, or a quiet evening by the fireplace. Each design includes a quick supplies list and simple, step-by-step instructions you can follow at home. Let’s get your nails gallery-ready for Christmas Eve!
Crimson Candy Cane Sparkle
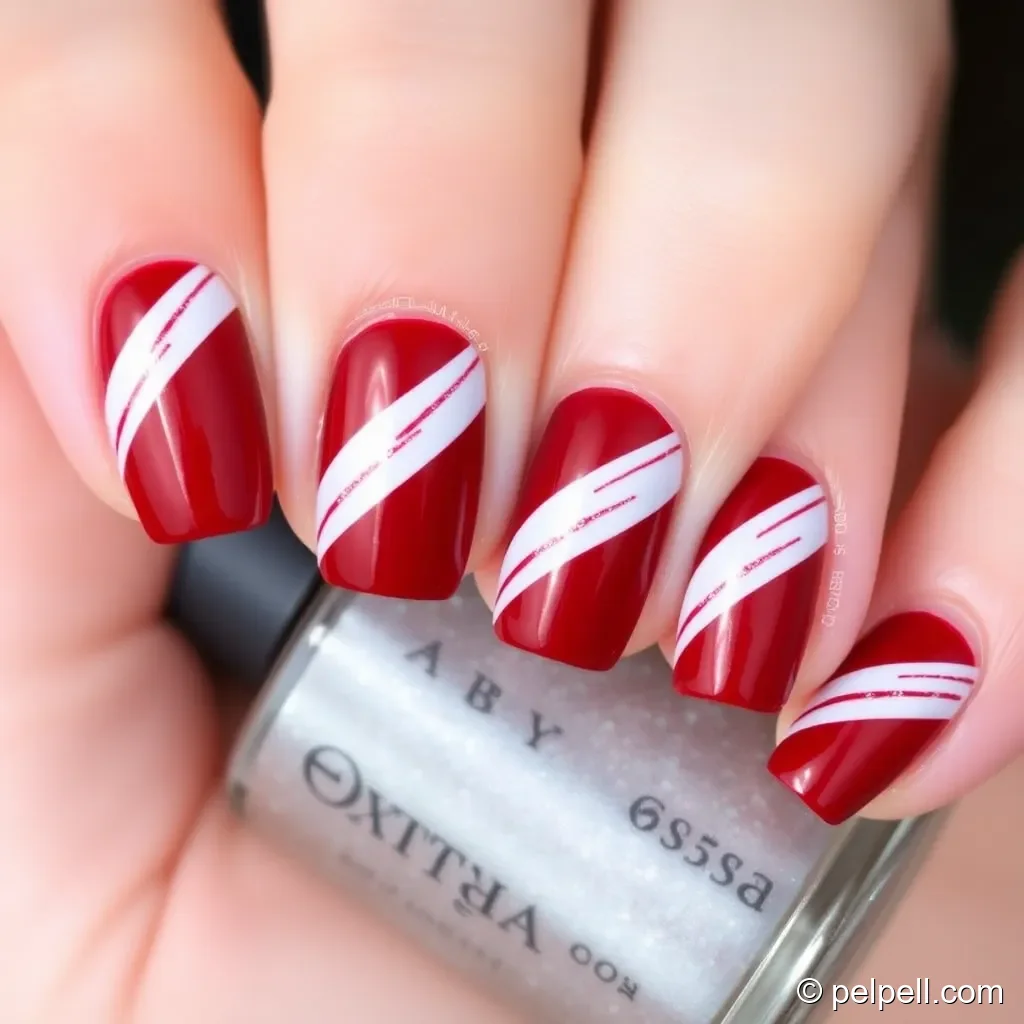
Vibe: A classic red base with delicate white candy-cane stripes and a touch of holo glitter for festive sparkle.
- Base color: Crimson red
- Accent: White for candy-cane stripes
- Extras: Holographic glitter or fine silver glitter (optional)
- Tools: Striping tape or a fine nail art brush, top coat
- Prep nails with a clear base coat to protect natural nails.
- Apply 2 coats of crimson red and let dry between coats.
- Using striping tape, lay down two curved stripes on each nail. Paint white along the stripes, then carefully remove the tape for clean edges.
- Optional: lightly dab holo glitter near the tips or along the cuticle line for extra sparkle.
- Finish with a glossy top coat to seal the design and add shine.
Why it works for Christmas Eve: The bold red is instantly festive, while the candy-cane motif nods to holiday traditions. It’s a timeless look that photographs beautifully in holiday portraits.
Snowy French with Gold Tips
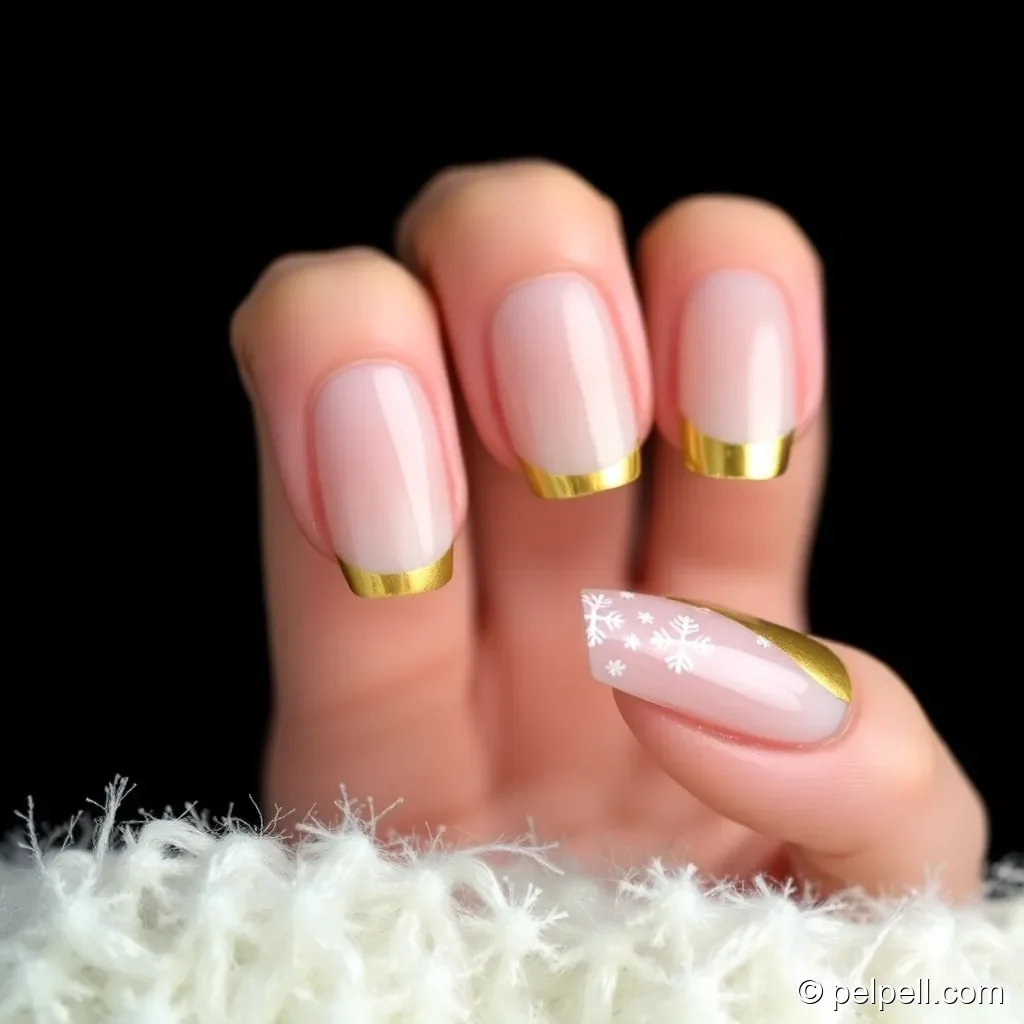
Vibe: An elegant white French with shimmering gold tips and delicate snowflake accents on an accent nail.
- Base color: Sheer pink or pale pink for a soft canvas
- Tip color: Metallic gold for the tips
- Accent: White for tiny snowflakes or decals
- Tools: Thin nail art brush or nail striping tape, snowflake decals or freehand snowflake brush, top coat
- Apply a sheer pink base and let it dry thoroughly.
- Paint the tips with metallic gold using a thin brush or a tape-guided line for precision.
- On the ring or middle finger, add a small white snowflake decal or hand-draw a delicate snowflake with white polish.
- Seal everything with a strong top coat to prevent chipping during holiday celebrations.
- Optionally dust a light veil of clear glitter over the tips for extra festive shine.
Pro tip: If you prefer a matte finish, swap the top coat for a matte variant for a chic twist on a wintery classic.
Emerald Pine and Gold Foil

Vibe: Deep evergreen nails accented with pine needle artistry and flecks of gold foil for a luxe holiday look.
- Base color: Emerald green
- Accent: Gold foil flakes
- Tools: Fine detail brush, tweezers for foil, top coat
- Prime and shade nails with two coats of emerald green; allow to dry.
- Sprinkle or place small pieces of gold foil on select nails using a nail brush or tweezers. Press gently to adhere.
- With a fine brush, paint a few short pine-needle strokes in a slightly darker or lighter green for depth.
- Finish with a top coat to lock in the foil and needle details.
- Keep the look balanced by applying foil only on one or two accent nails per hand.
Why it shines on Christmas Eve: The deep green and gold foil evoke evergreen trees and festive ornaments—an upscale look that photographs beautifully under warm indoor lighting.
Winter Wonderland Glitter Gradient
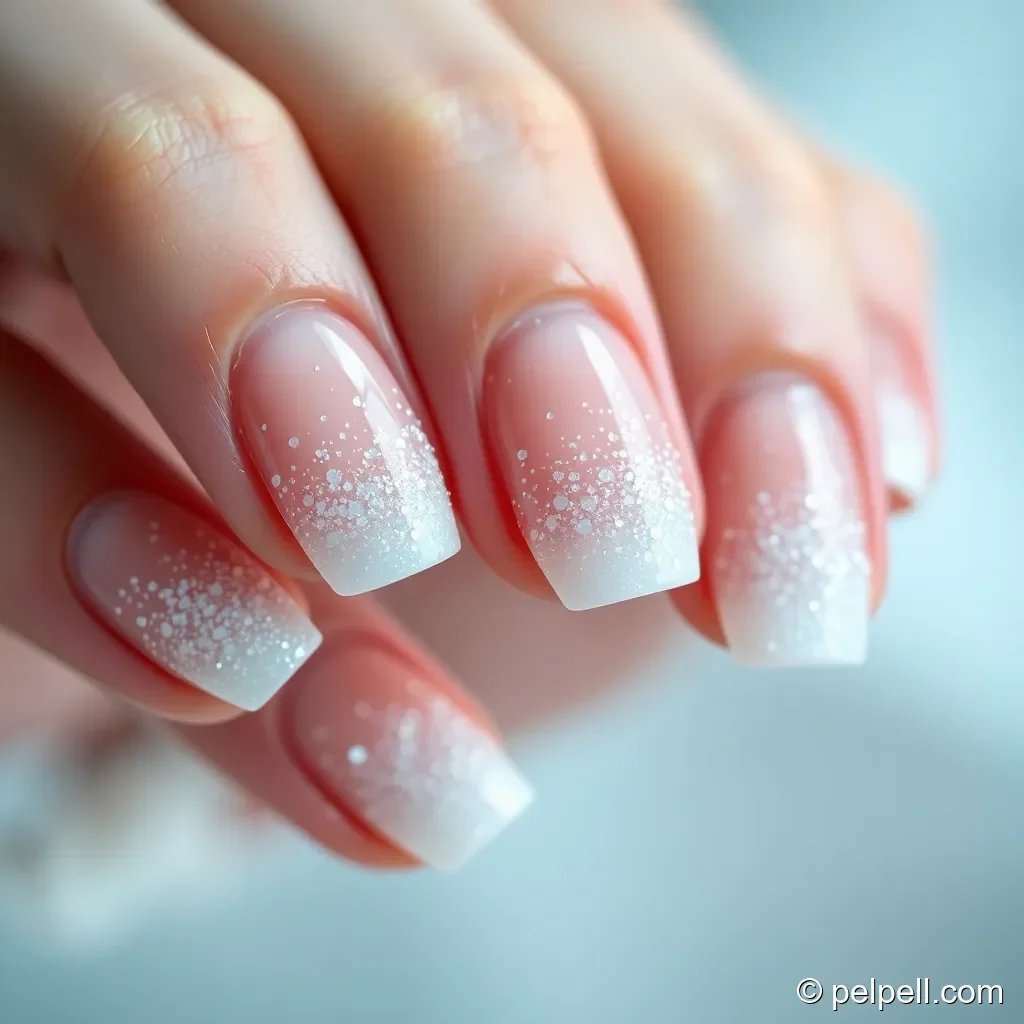
Vibe: A soft, icy gradient from nude to white with a wash of iridescent glitter, capturing a snowfall vibe for the holiday season.
- Base color: Nude or pale beige
- Gradient: White at tips or center depending on preference
- Glitter: Iridescent or ultra-fine glitter
- Tools: Cosmetic sponge for gradient, clear top coat, optional snowflake decals
- Apply a nude base and let it dry completely.
- Use a cosmetic sponge to dab white polish from the tip downward to create a soft gradient, reapplying until you reach the desired opacity.
- Brush on a layer of iridescent glitter over the gradient while still tacky to maximize adherence.
- Optionally add a small snowflake decal on one accent nail or use a fine brush to paint tiny snowflake shapes.
- Finish with a clear top coat for smoothness and lasting wear.
Tip for impact: A gradient manicure looks best with well-shaped nails and short-to-medium length to keep the gradient clean and elegant.
Nordic Fair-Isle Accent Nail
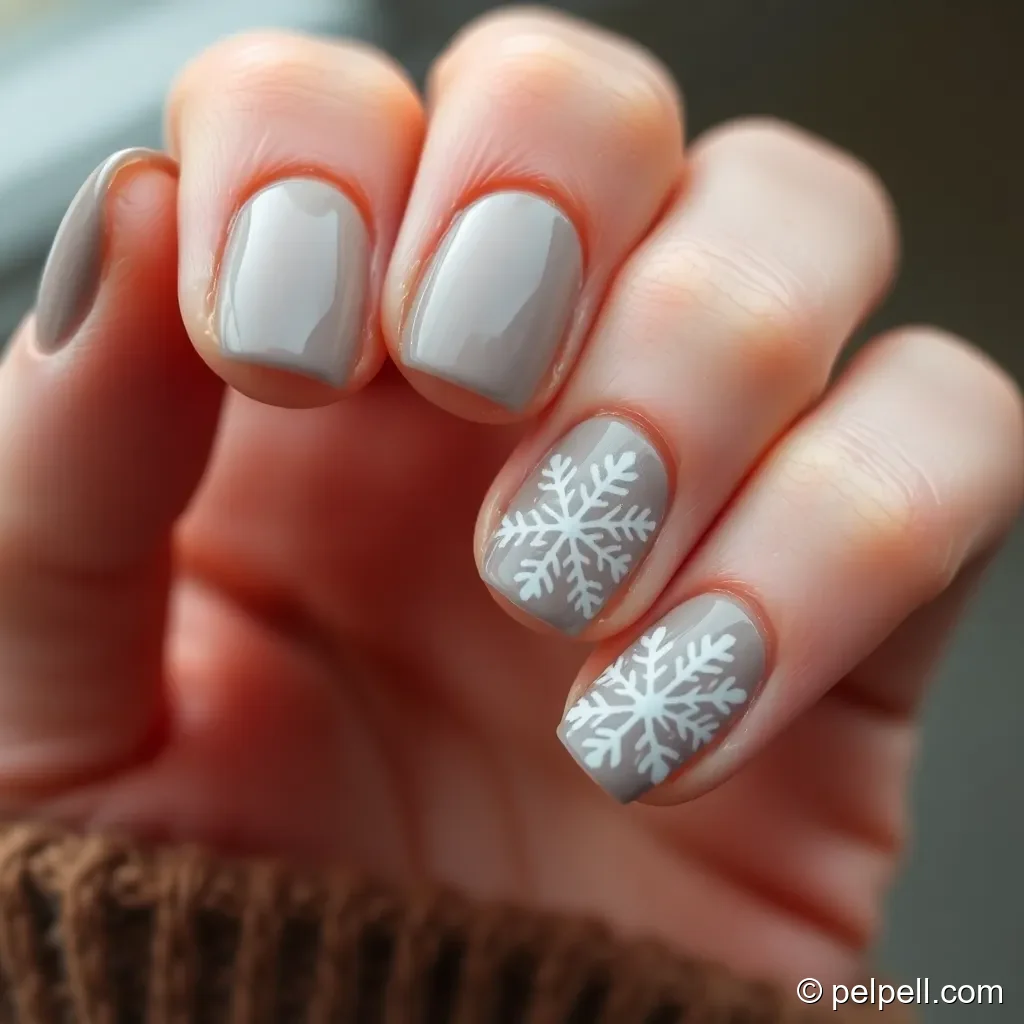
Vibe: A cozy Nordic pattern on a neutral base, paired with solid-color nails to keep it chic and wearable for Christmas Eve.
- Base color: Taupe, beige, or soft gray
- Pattern: Fair-Isle or Nordic snowflake motif
- Tools: Stamping plate with Nordic pattern or a fine nail brush for freehand design, red or white polish for contrast, top coat
- Paint nails with the neutral base color and allow to dry fully.
- On the accent nail (usually the ring finger), apply the Nordic pattern using a stamping plate or a tiny brush. If freehanding, use a fine brush and reference a simple Nordic motif.
- Finish with a contrasting color for edges or small ornaments to enhance the design, such as a tiny red dot at the center of a snowflake.
- Seal with a top coat to preserve the delicate lines and prevent chipping.
- Optionally add a subtle shimmer top coat for extra festive glow.
Why it’s a crowd-pleaser: Nordic patterns are timeless and cozy, offering a sophisticated festive look that pairs well with any holiday outfit and looks great in photos.
Conclusion
Five stylish options, all designed to be approachable for at-home application while delivering Christmas Eve nails that feel special. Whether you choose the bold Crimson Candy Cane Sparkle, the elegant Snowy French with Gold Tips, or the cozy Nordic Fair-Isle Accent Nail, these ideas help you celebrate the season with confidence. Save this guide for easy reference, and share your final looks in the comments or on social media—we’d love to see your festive manicure creations!